

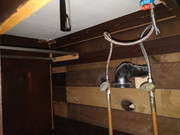
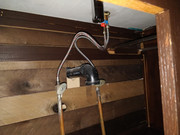
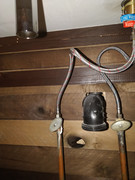
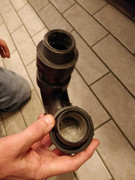
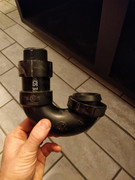
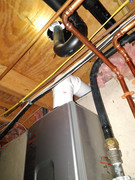
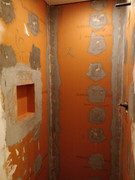
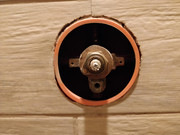
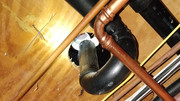
Everything was DIY'd, with some helping hands along the way, with the exception of the plumbing for raising the showerhead approx 8". I had a plumber friend come over to do that since I didn't want to eff up the copper piping in place already. Almost everything, with the exception of the shower, was completed about two years ago in the span of a month to make it functional, then hit a few snags for the shower and the delay soured the work for me, so the shower was left unfinished for about a year and a half. Resumed work this year during COVIDtimes and, after a few delays along the way, I finished up within the last month.
Quick summary:
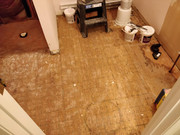
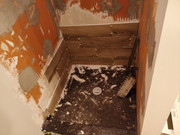
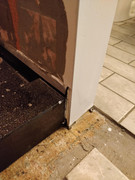
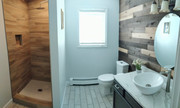
- Demoed the whole bathroom (aside from structure/walls) - help from wife
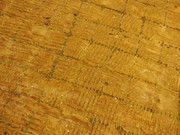
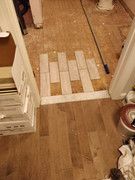
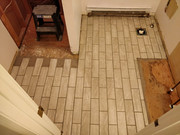
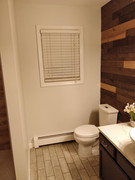
- New floor tile - help from buddy (electrician previously mentioned) with the mortaring, and from dad with the grouting
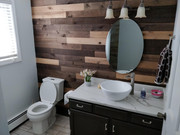
- New toilet
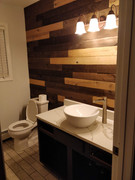
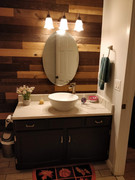
- New sink and countertop
- Repainted vanity and updated hardware
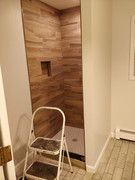
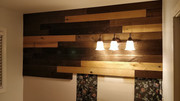
- Installed shiplap for accent wall
- Repainted remaining walls - help from wife
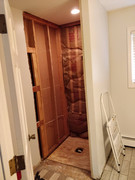
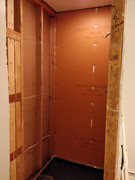
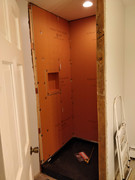
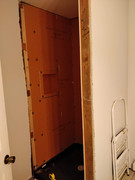
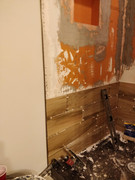
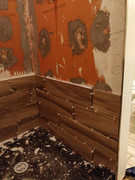
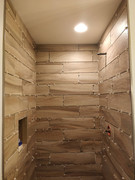
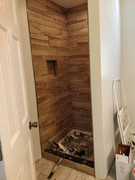
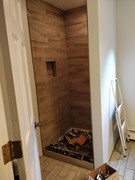
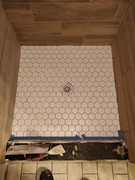
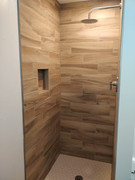
- Full tile shower with updated hardware
- New baseboard trim
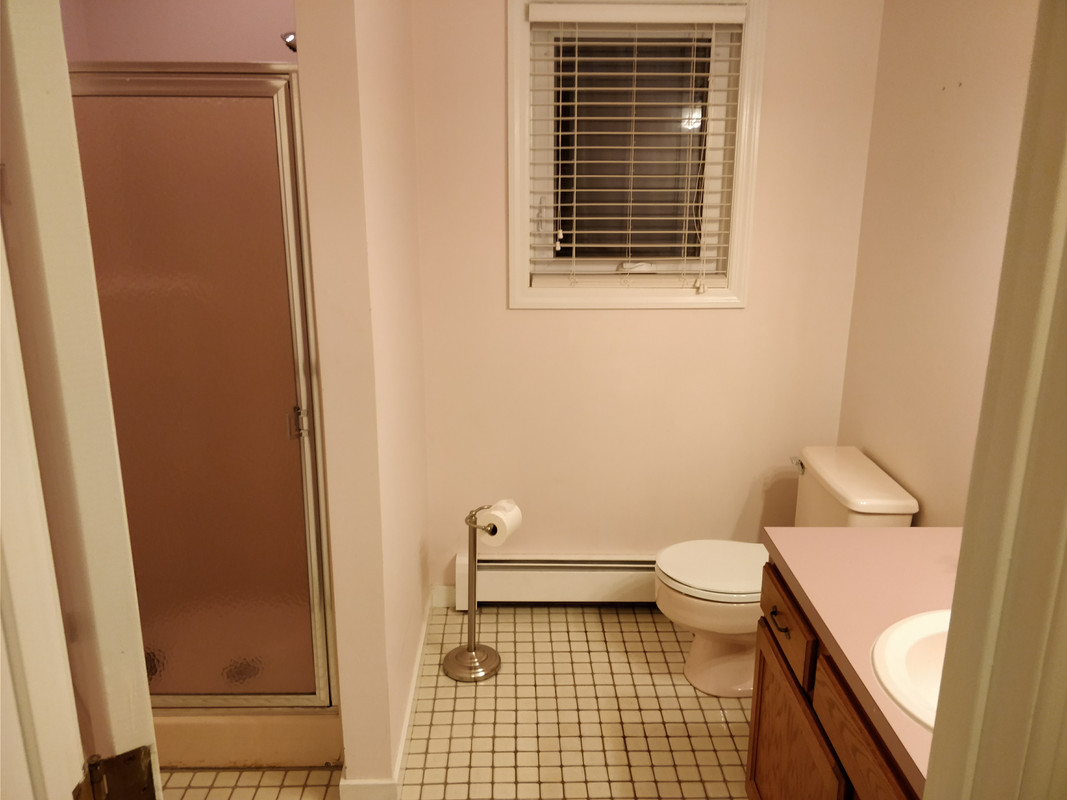
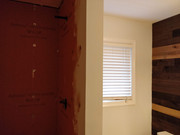
Before:
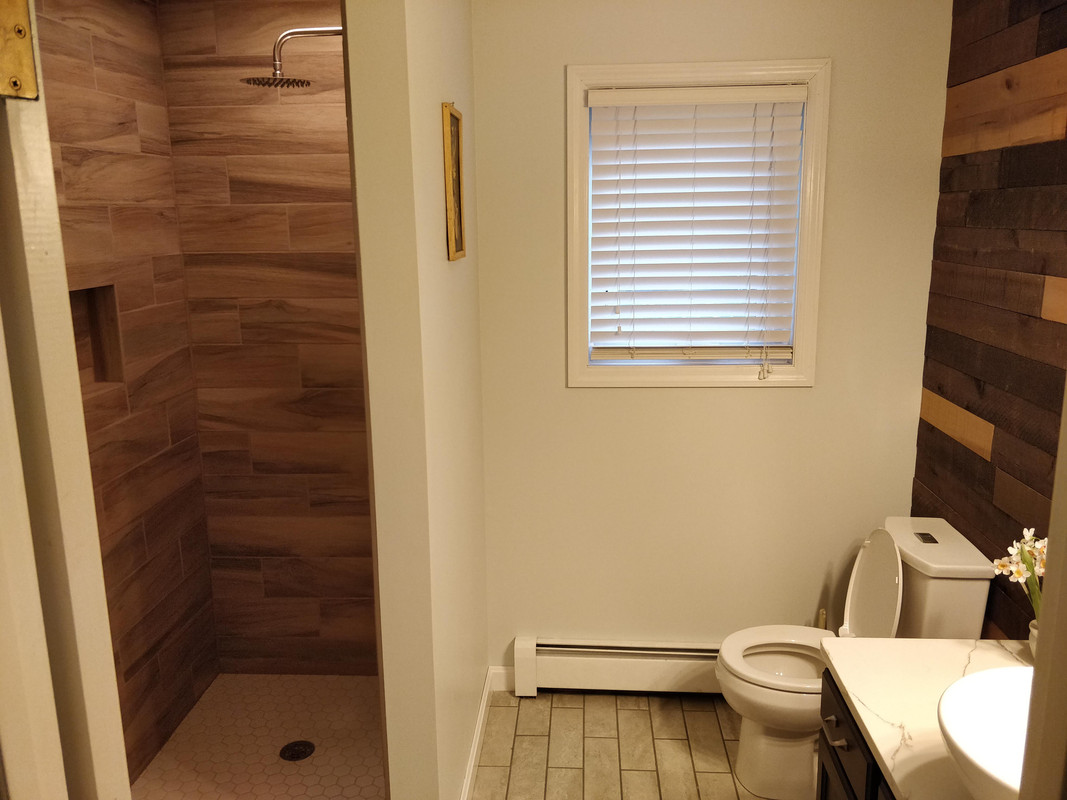
After:
More pics in the following posts!


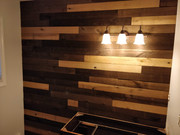


 . It makes the room.


 Thanks dude! Project will probably start sometime in the next year or so. You've inspired me!

 I need to do a similar project soon..... especially since I am soon to be kinda sorta semi retired.....