


Fantastic work.


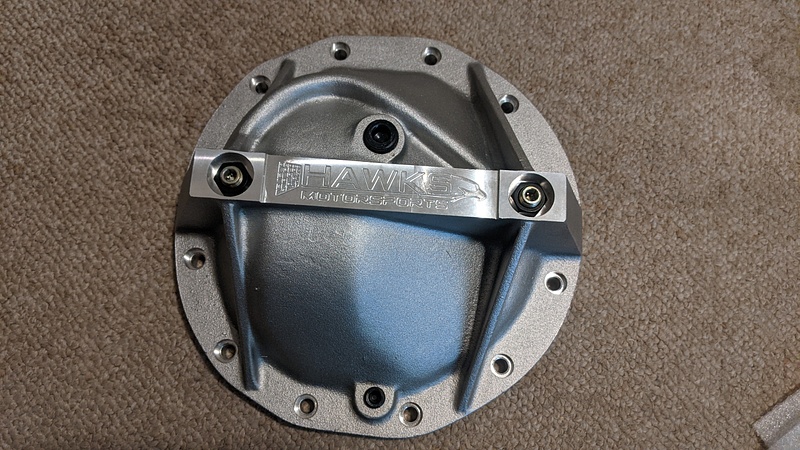
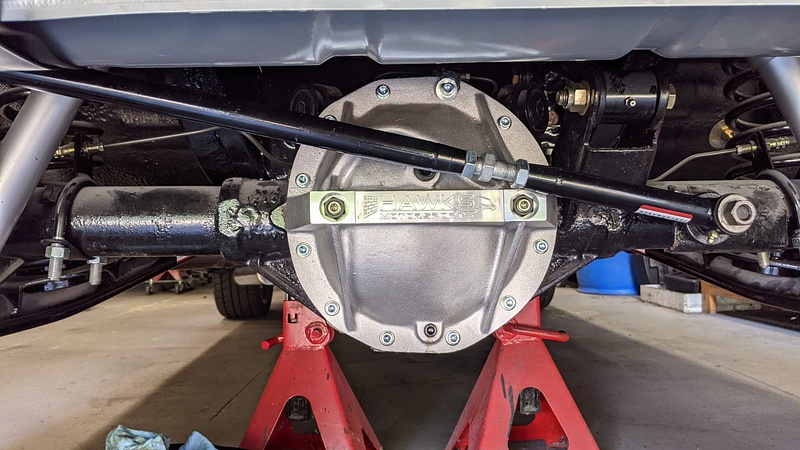

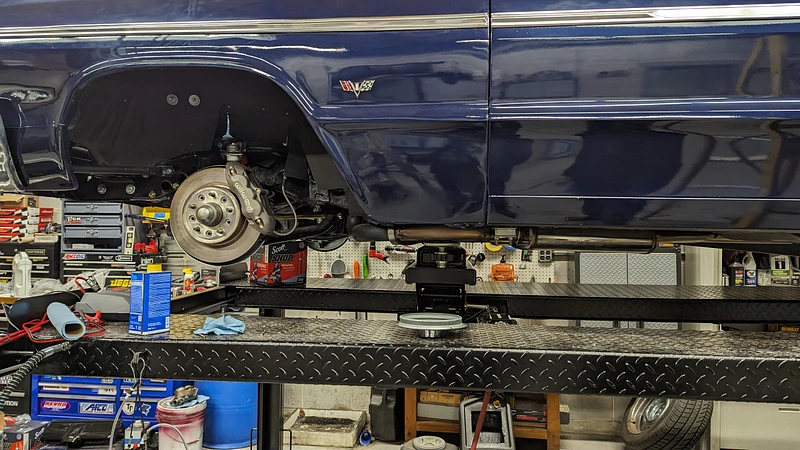
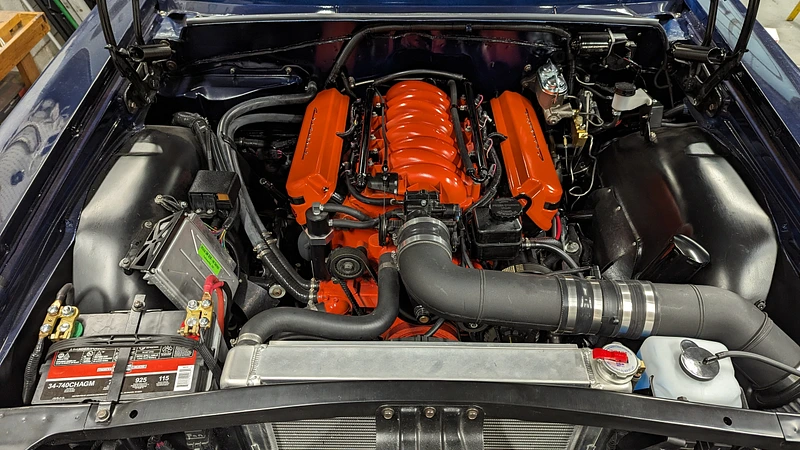
It drives well. The turning radius is large, but that's too be expected. The suspension is still very compliant over bumps, so it is a very comfortable cruiser. I really want to get it on a dyno and see how much power that 5.3 is making.Desertbreh wrote: ↑Tue Jul 06, 2021 9:10 am Car is bad ass. The drain plug on that cover is tiny. How does this thing drive?


Muchos gracias. Simple and clean is the way I like it.
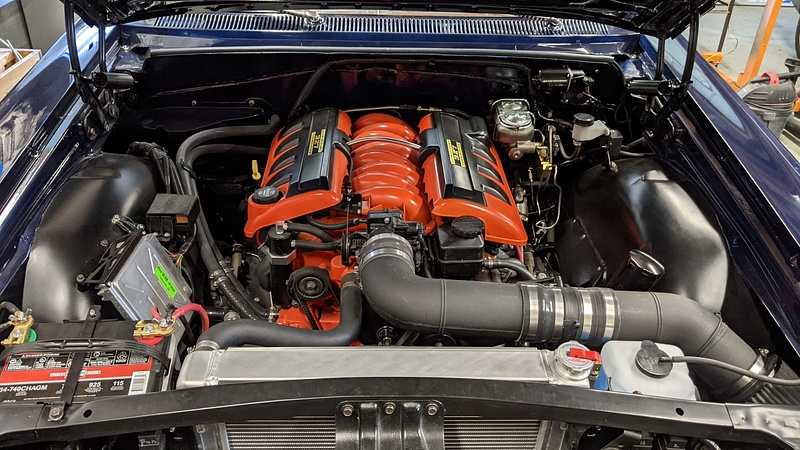
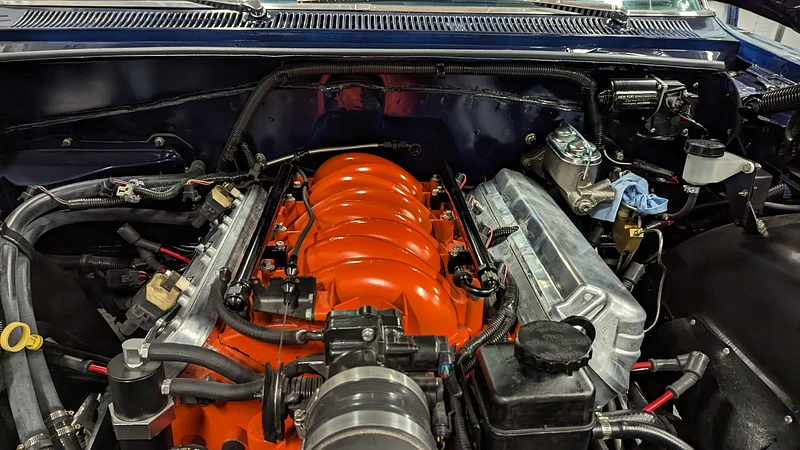
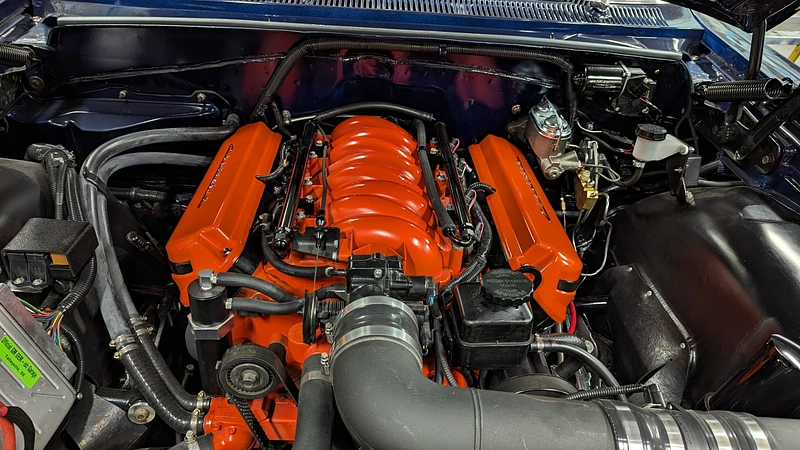
Thanks. That's exactly what I was going for. I didn't want to try and make the LS engine look like a Gen I SBC, but rather make it look like something that could have rolled off the assembly line had the engine been available back then. It's also why I used all factory parts for building the engine, aside from the pushrods. For whatever reason, the stock pushrods were too long by .050". Go figure.


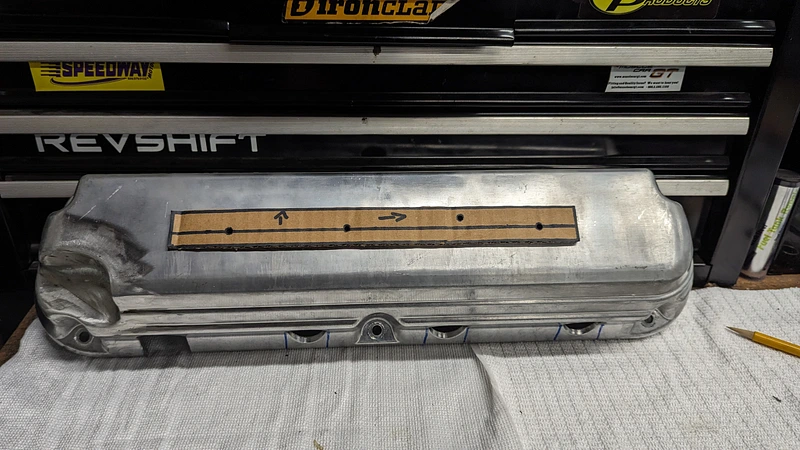
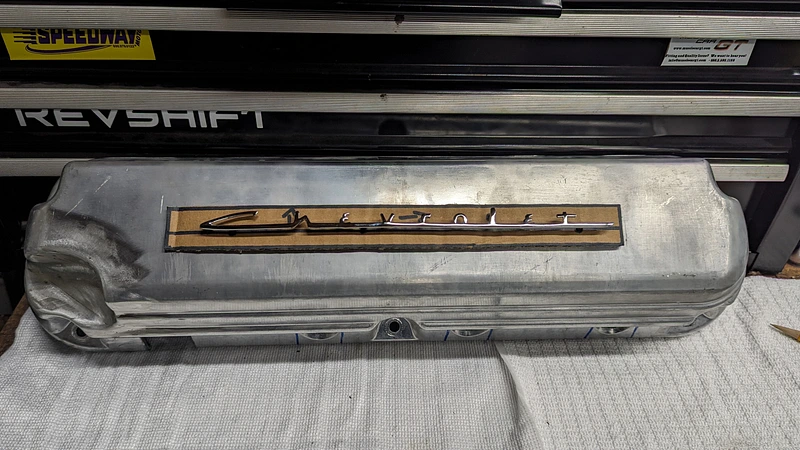
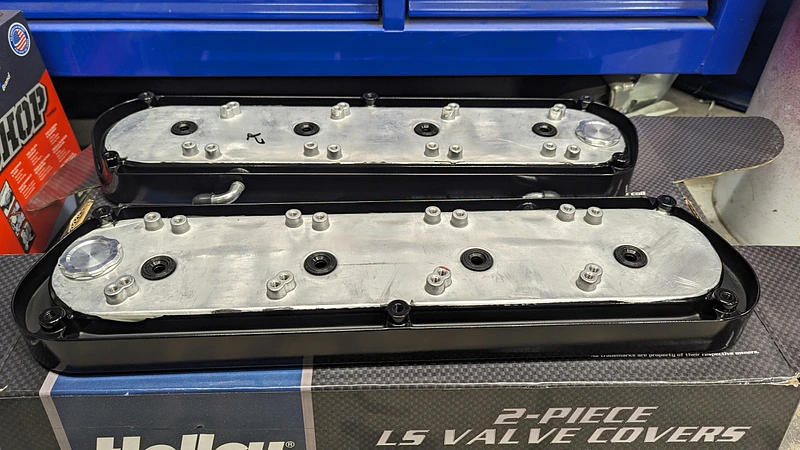
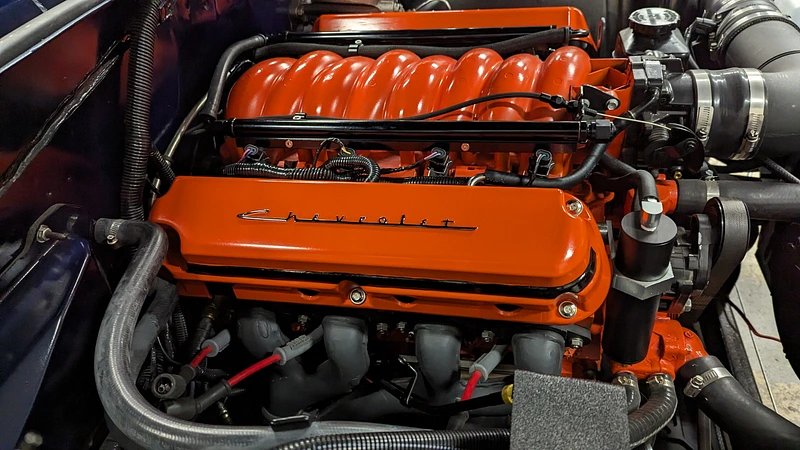


That’s a sexy look! That orange plays nicely! 10 out of 10 would fuck!Huckleberry wrote: ↑Thu Mar 28, 2024 7:57 am Once the welding was finished, it was time to drill the covers for the Chevrolet script emblems I purchased. These are actually dash emblems for the 53-54 cars, which I selected because I like that the script is different from the typical Chevy script, and my grandfather had a '54 way back when. I made a template out of cardboard to mark the covers.
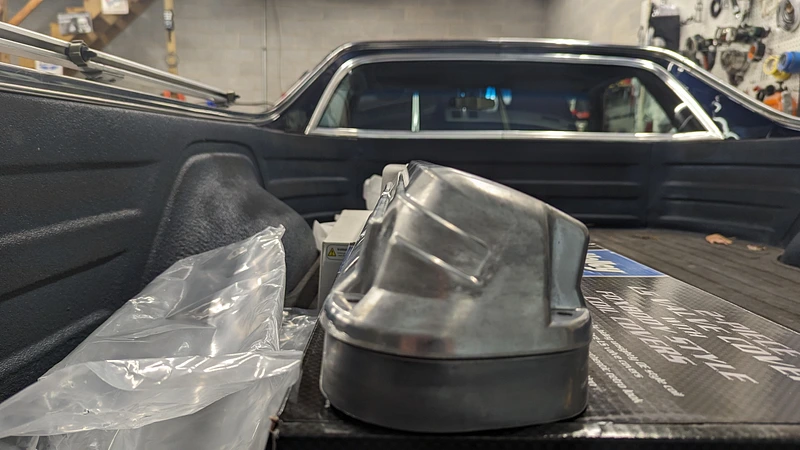
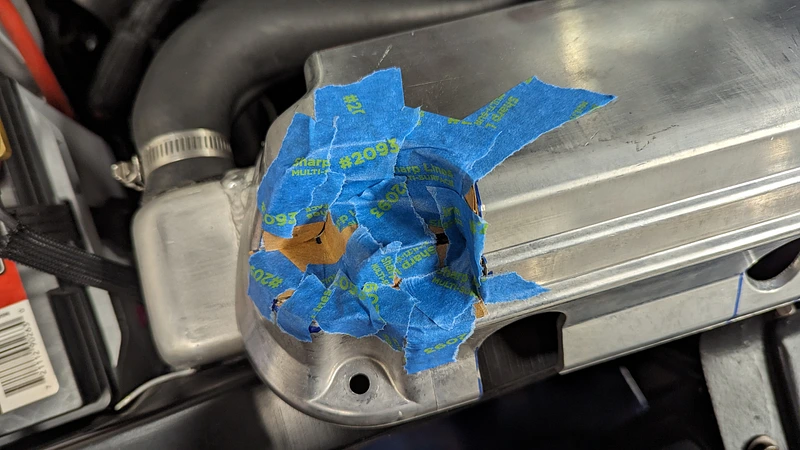
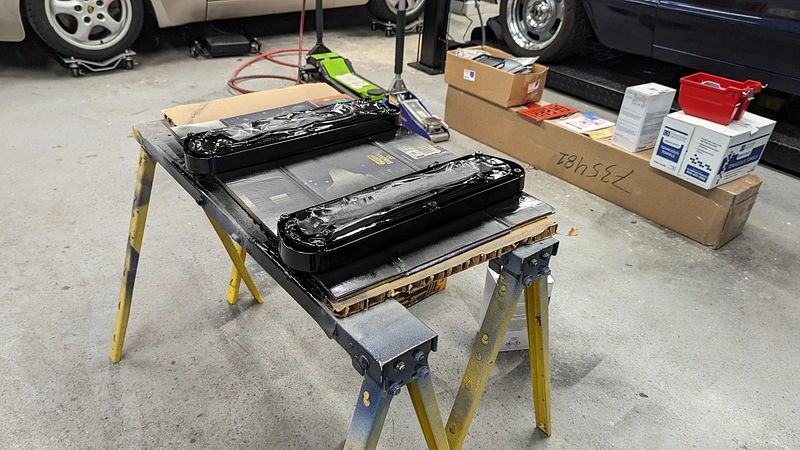
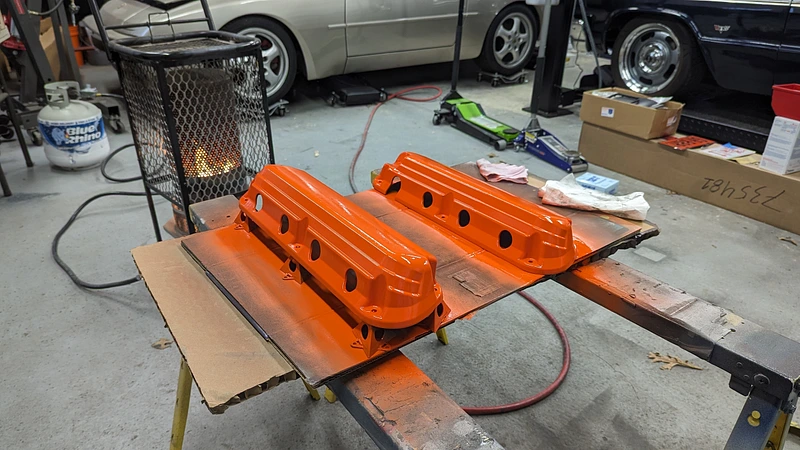
With the prep work done, it was finally time to paint the valve covers.
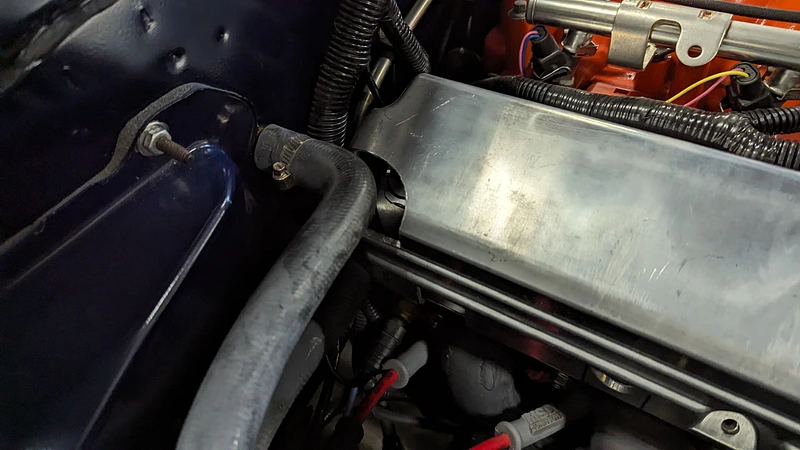
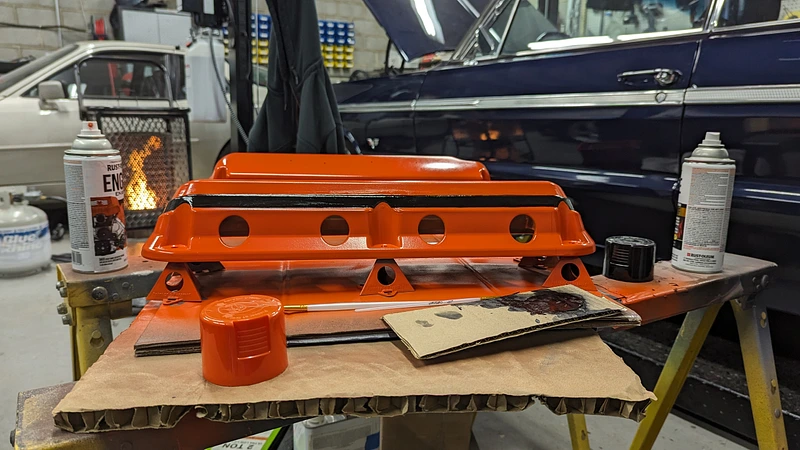
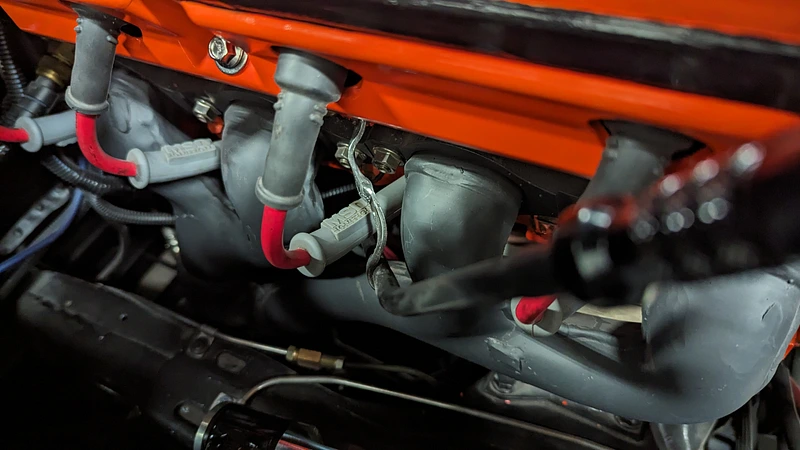
The final bit was extending the mounting tab for the dipstick tube.
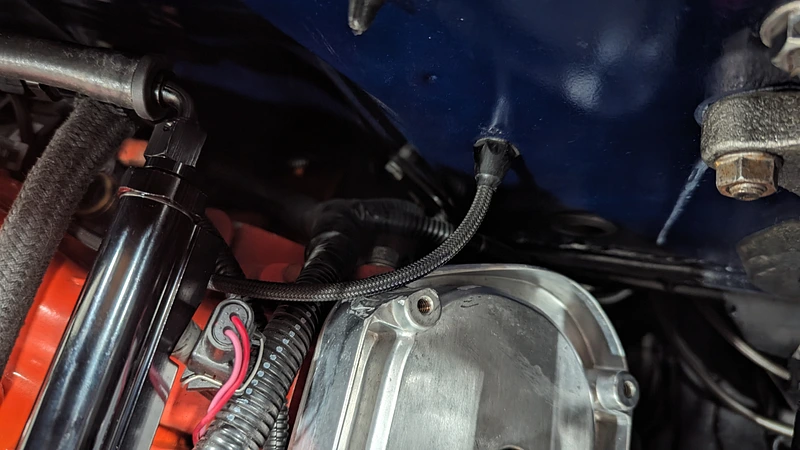
And the final result:
Thanks. I am quite pleased with how they turned out.J-Ho-Fo-Show69 wrote: ↑Thu Mar 28, 2024 9:01 am
That’s a sexy look! That orange plays nicely! 10 out of 10 would fuck!
I was always obsessed with painted valve covers growing up. Idk what it is about them, but it just pops to me compared to chrome!
As always with a classic, you have to tinker to find the right setup, but that’s part of the fun right!
Looks great!


 ! Beautiful car, cool to have it right where it was built as well.