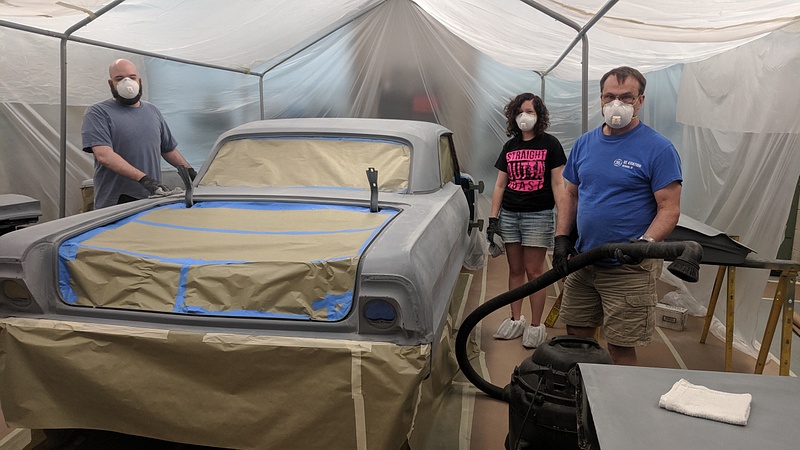
This past month has been a tumultuous roller coaster of emotion. With the deadline of my sister's wedding fast approaching, we had to kick it into gear. As Jerry Reed once put it, "We've got a long way to go and a short time to get there."
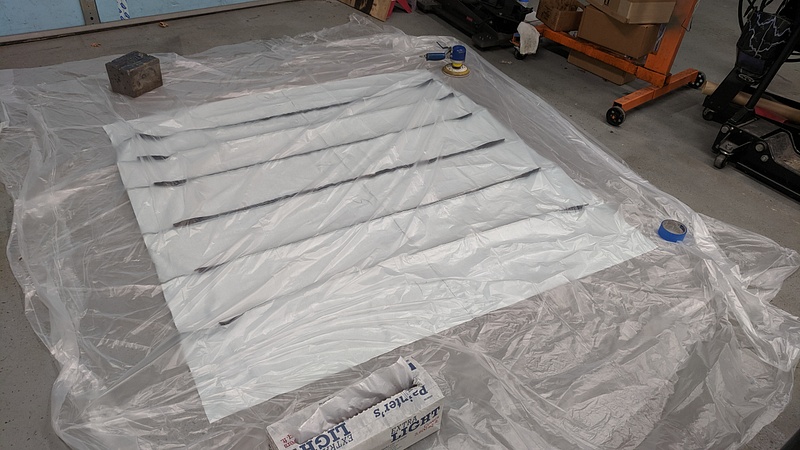
While we were assembling the front end of the grill, we had laid the headliner out so it had some time to unbox itself.
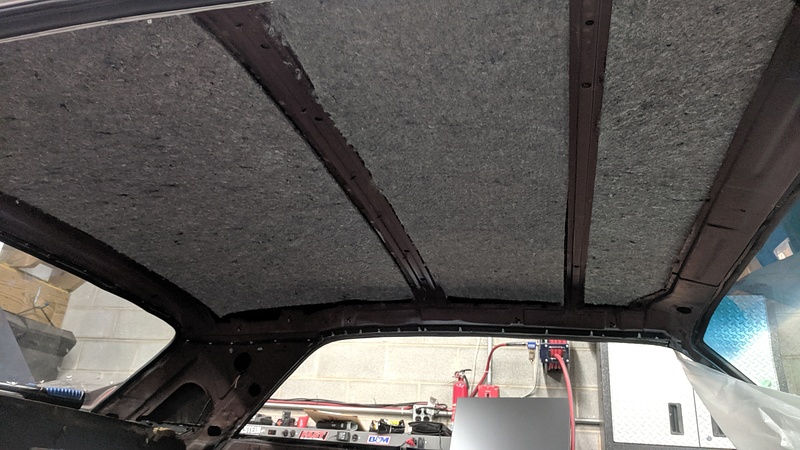
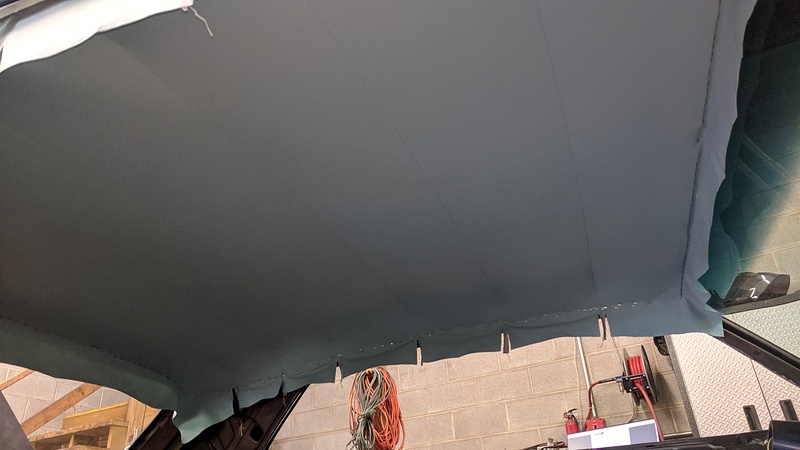
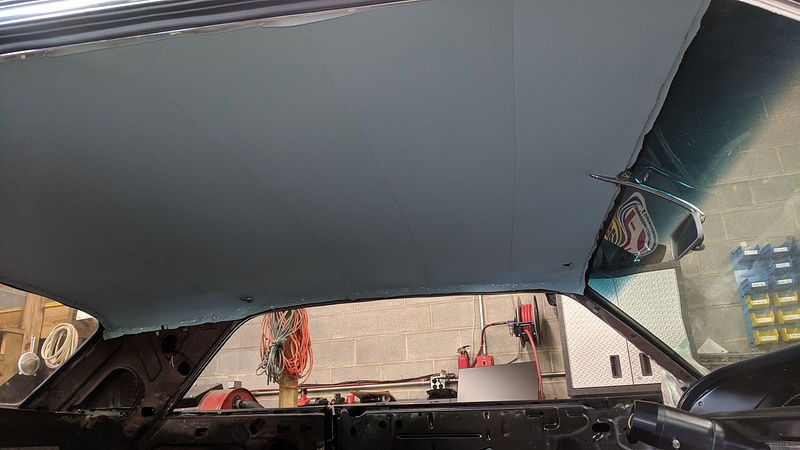
When it came time to concentrate on the interior, we glued some new matting to the ceiling:
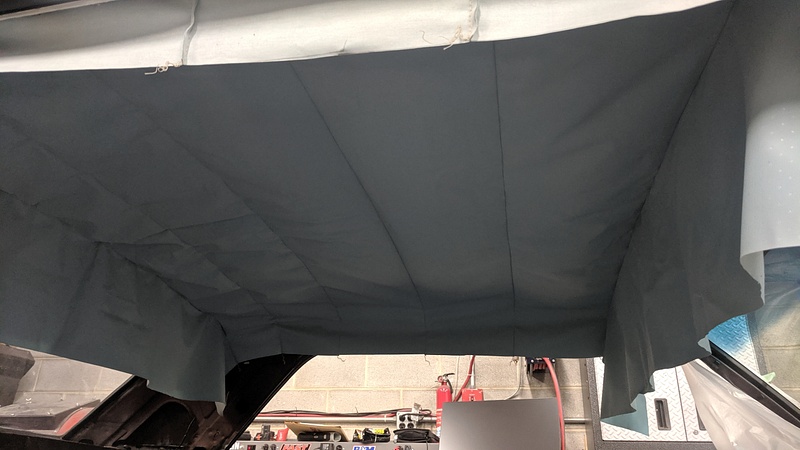
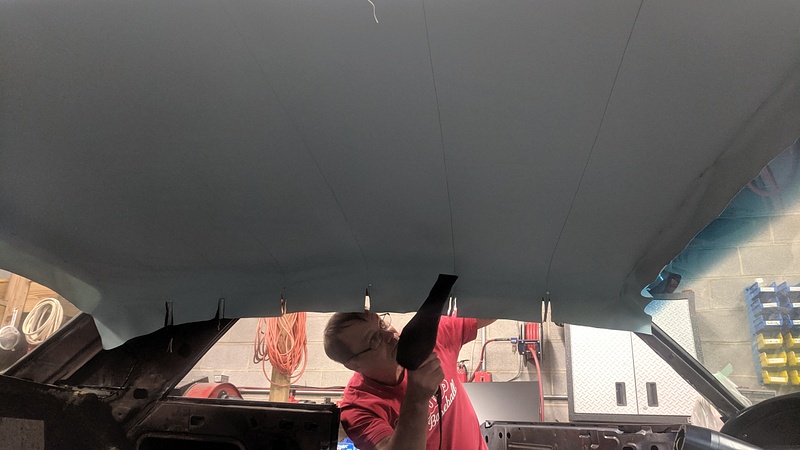
And then we followed these instructions for installing the new headliner:
https://www.danchuk.com/images/Download ... dliner.pdf
If you ever need to install a bow-style headliner, follow those instructions and you will be fine. If us two knuckleheads can do it, you can, too.
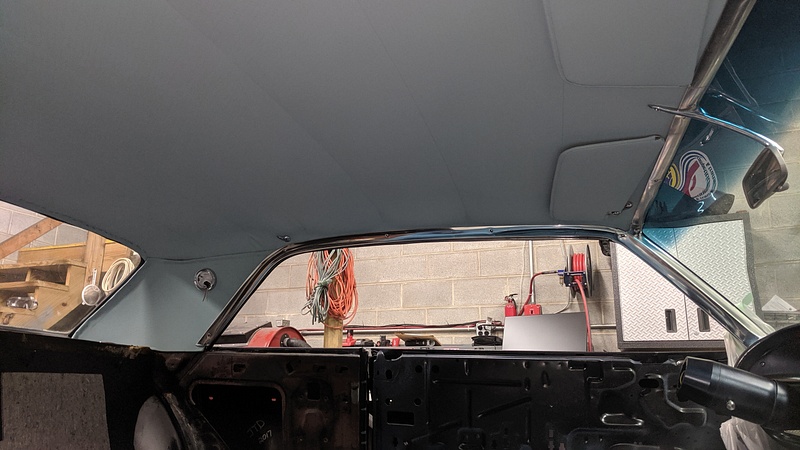
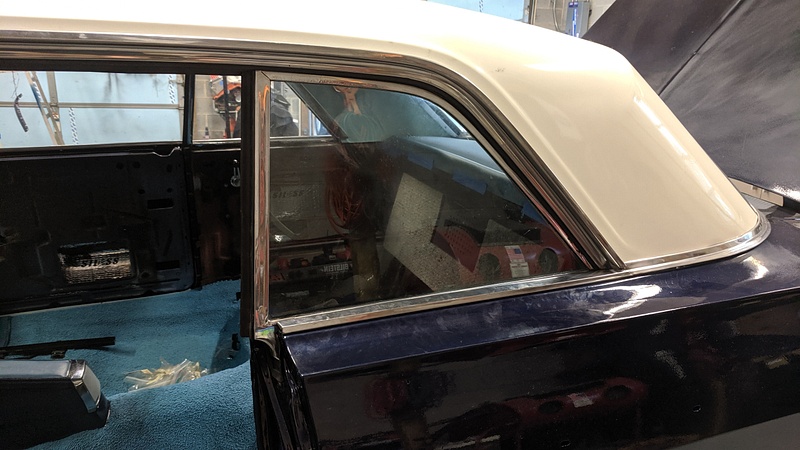
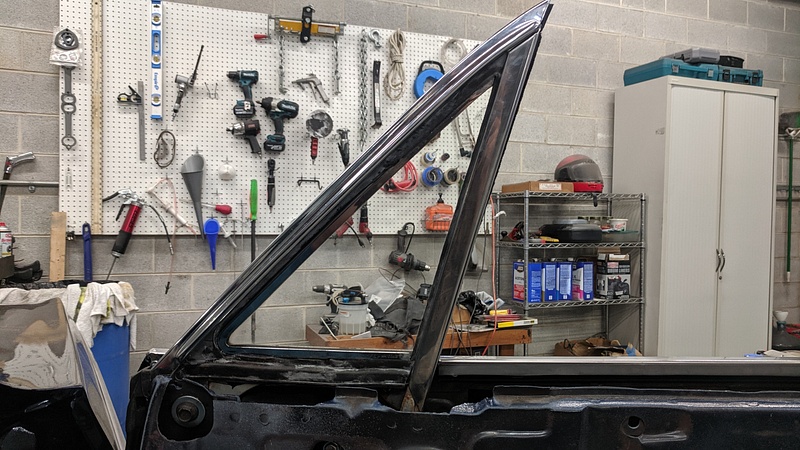
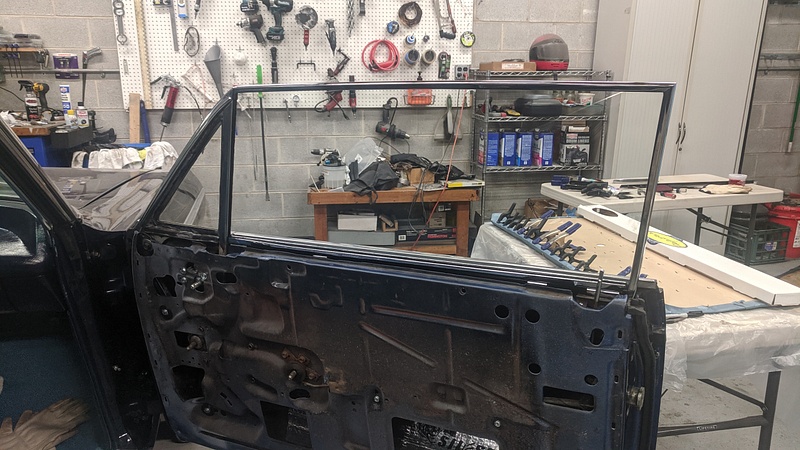
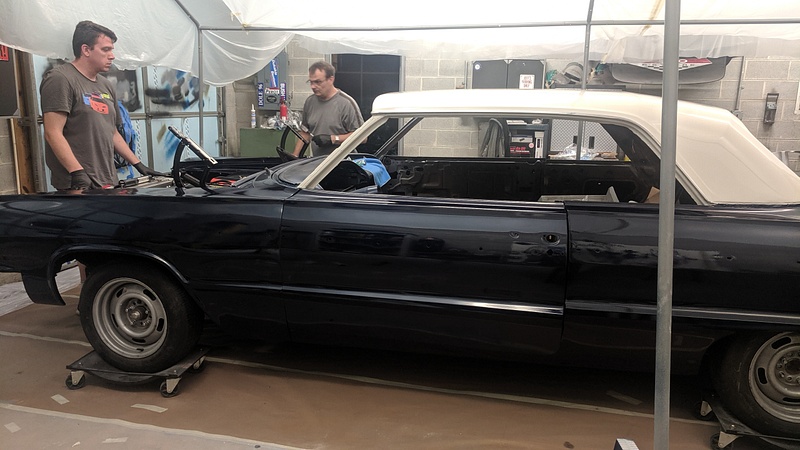
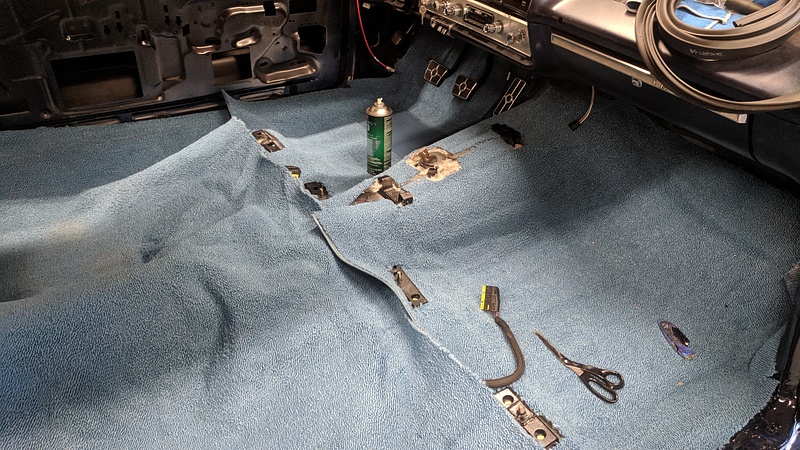
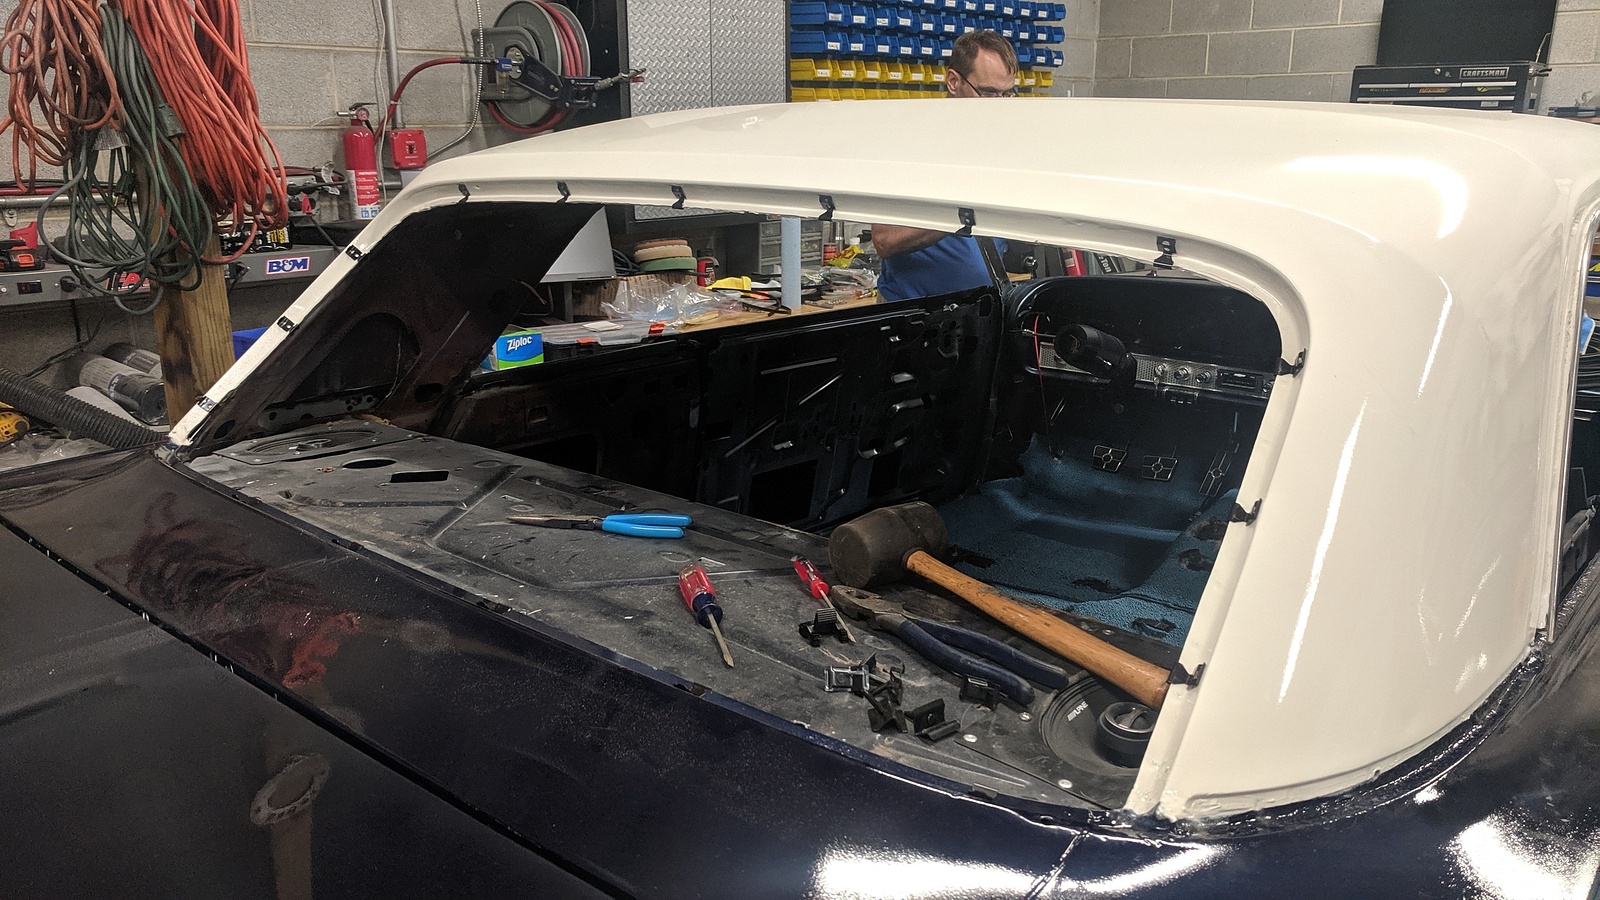
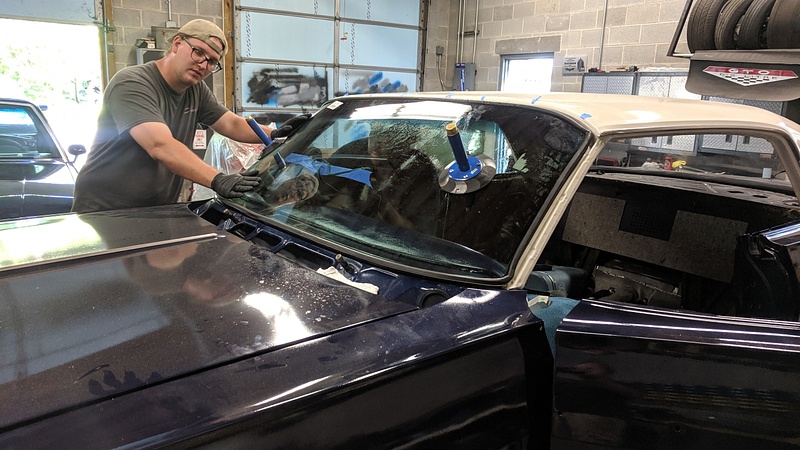
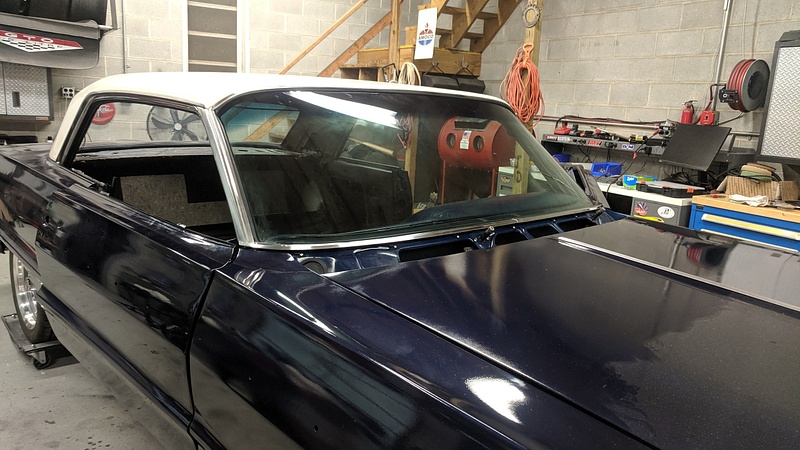
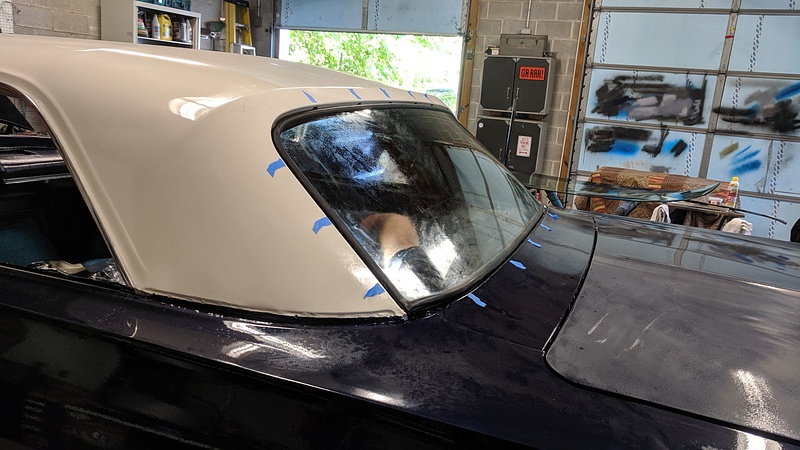
After the headliner was out of the way, it came time for the glass to get installed. Of course, this was when my dad realized the glass wasn't in as great of a shape as he remembered. So, we took to eBay to get some new/slightly used side glass. As a note of caution, the hardtop and the convertible are interchangeable with everything...EXCEPT THE DOOR GLASS. Guess how we learned that bit of trivia. With a deadline fast approaching, this isn't exactly news that you want to discover.
These pieces of glass are also a riot with their 400 different adjustments and each piece being integral to the other.
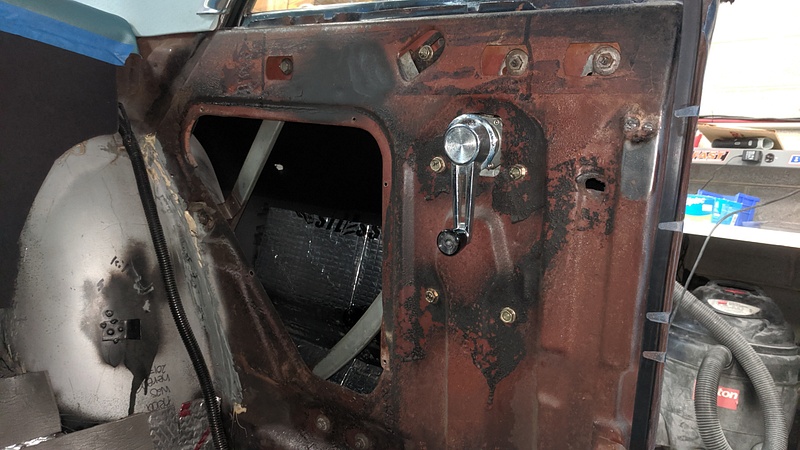
Replacing the seals in the vent windows is a real treat, too. GM took the concept of the windows all being integral to one another and applied it to the seals, too.
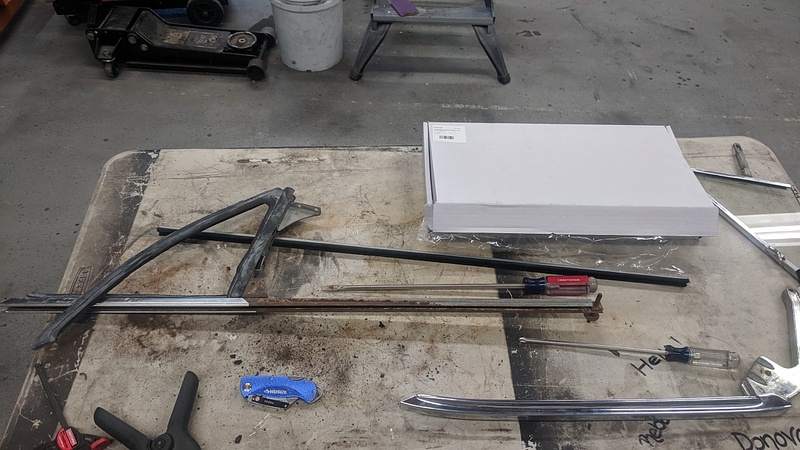
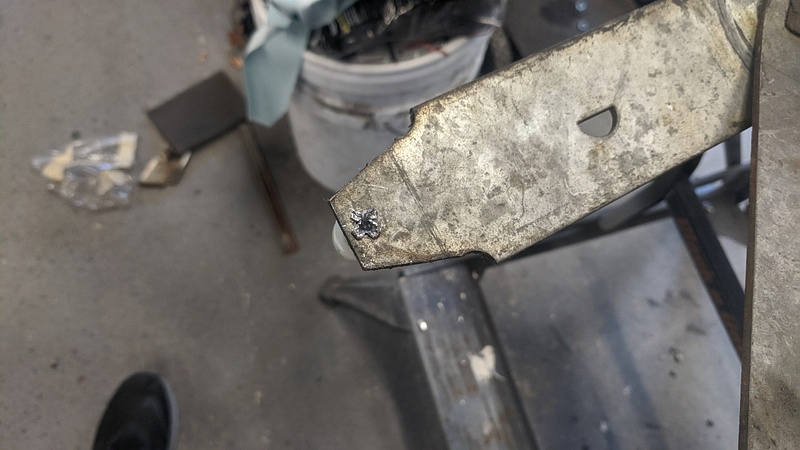
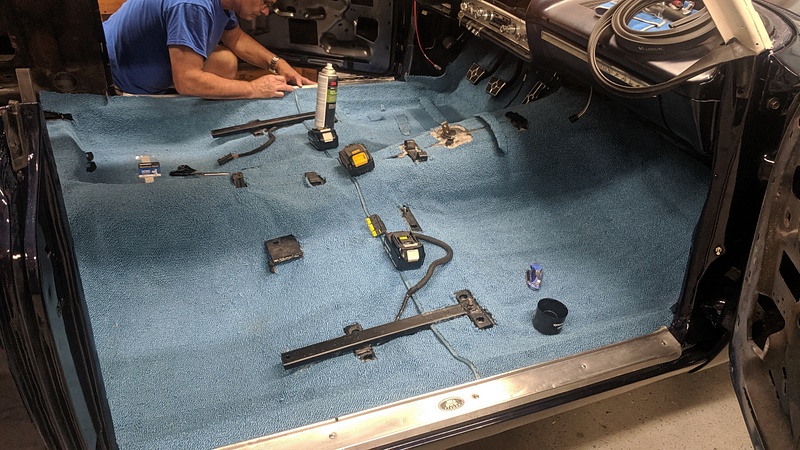
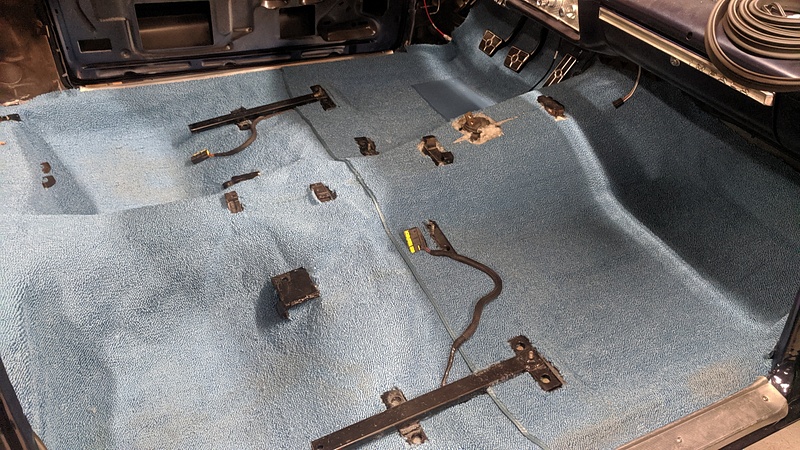
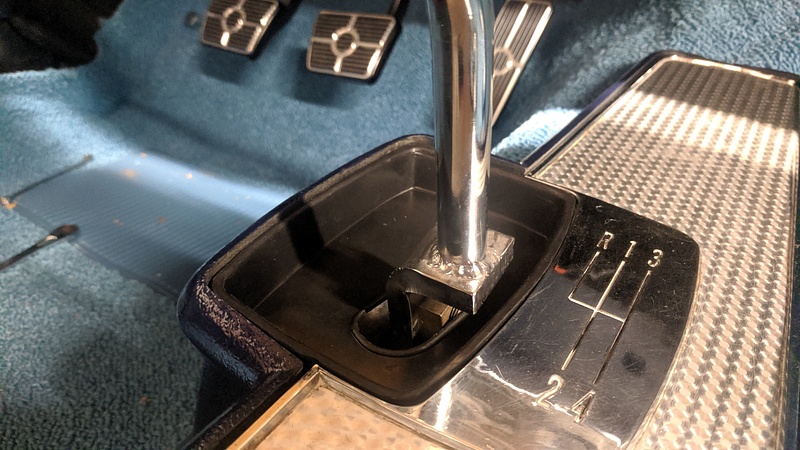
Before we could install the door glass, we had to install new rollers.
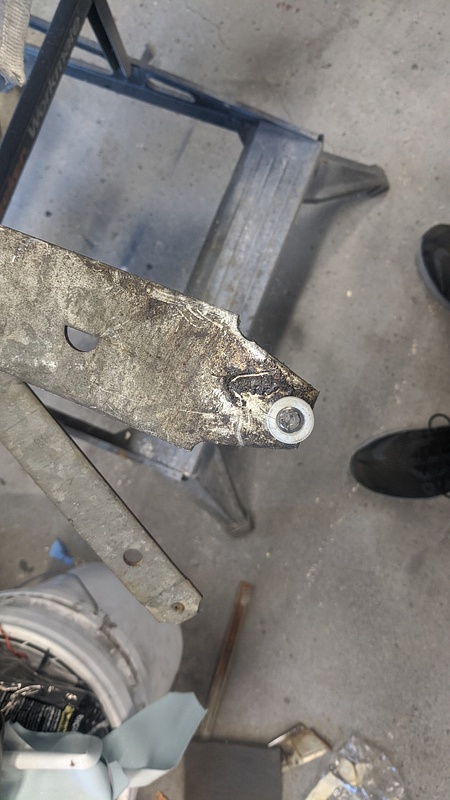
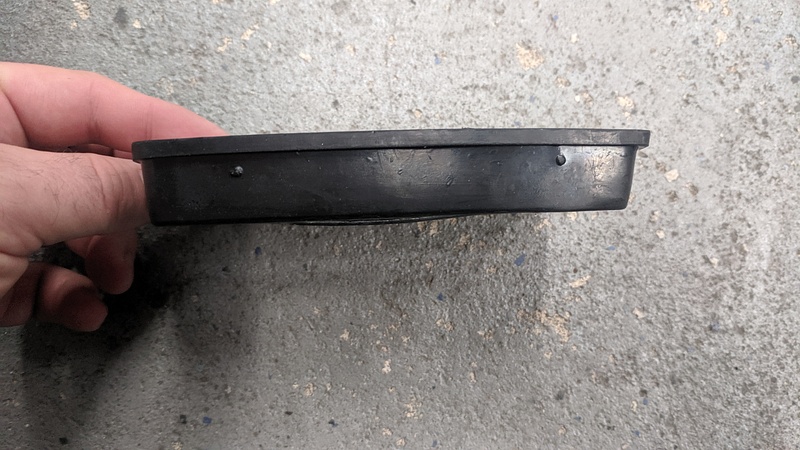
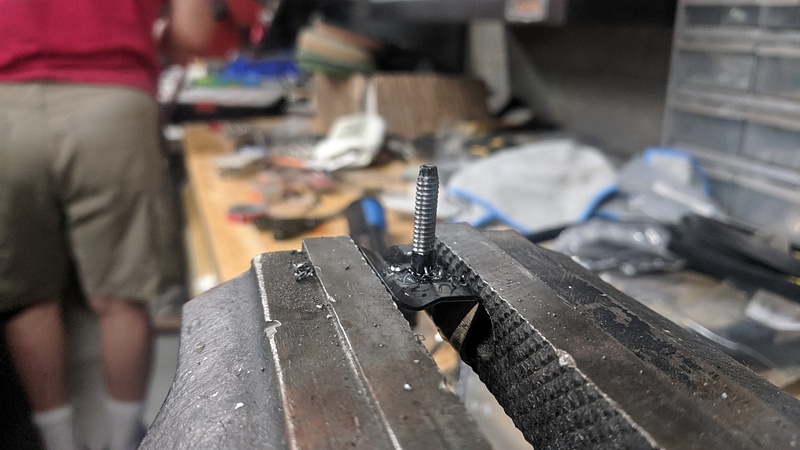
Why make an updated part that utilizes a bolt when you can reproduce it as a rivet?
Once the glass was installed and adjusted, we were able to get the quarter interior panels in. These panels are original and cleaned up well.
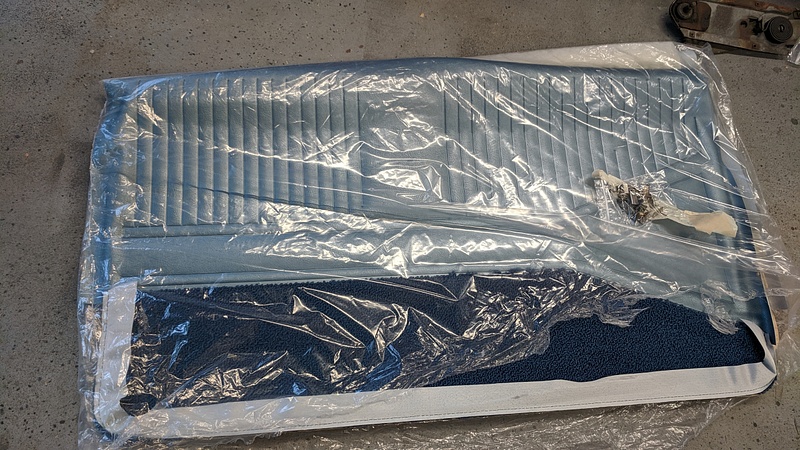
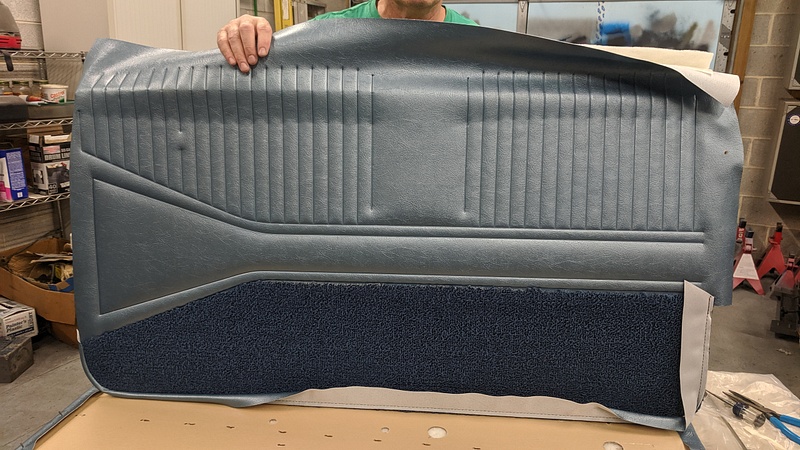
The door panels were not as lucky to be salvageable.
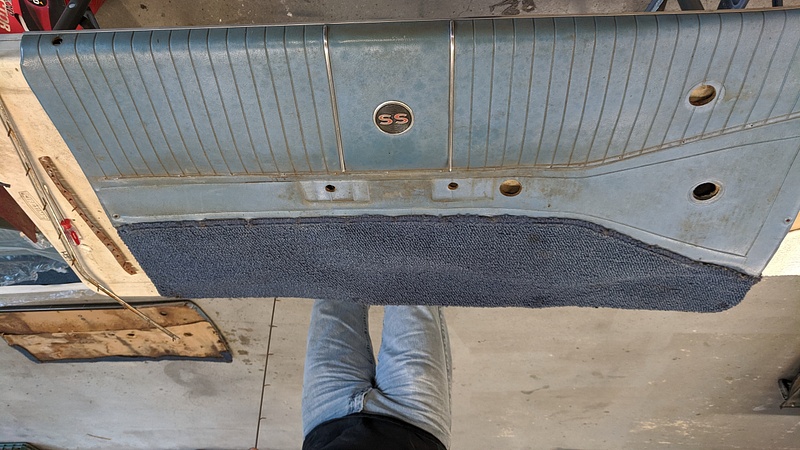
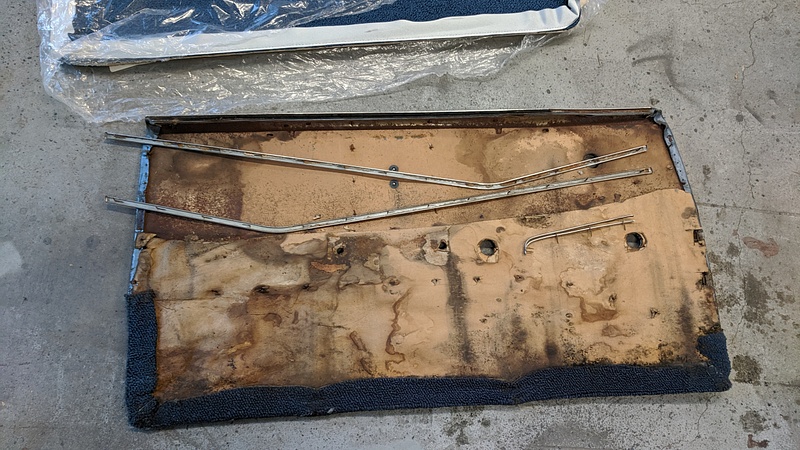
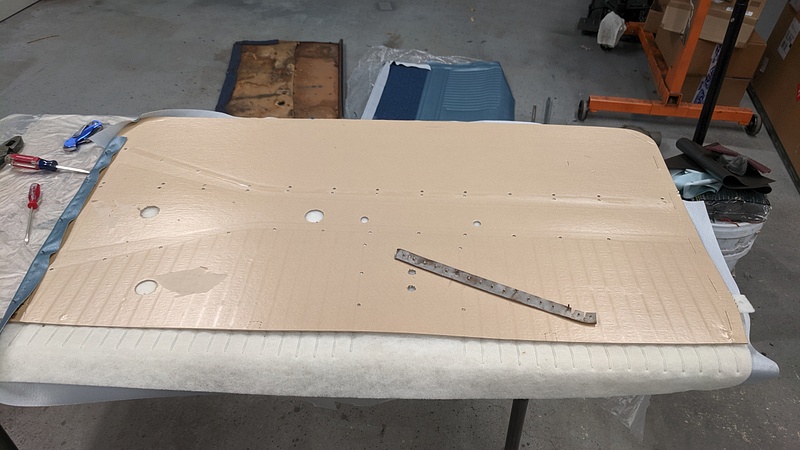
So, we removed all of the brightwork and spent time assembling the replacement door panels. Yes, I said "assembling," because that's how the factory sent them. The brightwork has teeth on the backside that puncture the panel to remain in place, so we had to make sure to get it right.
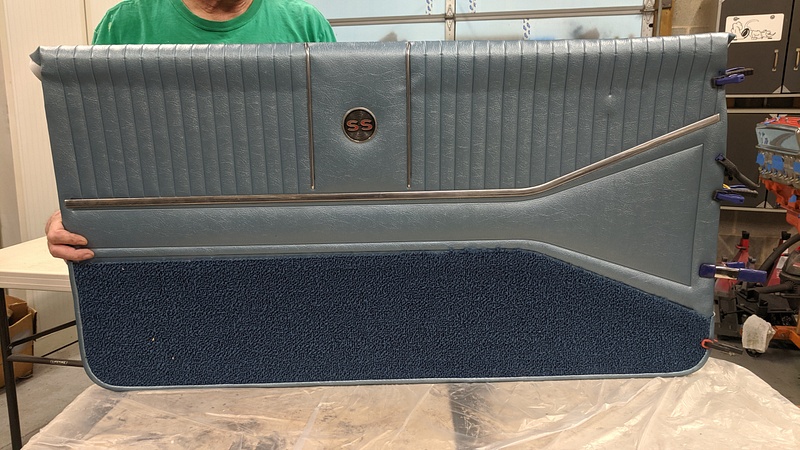
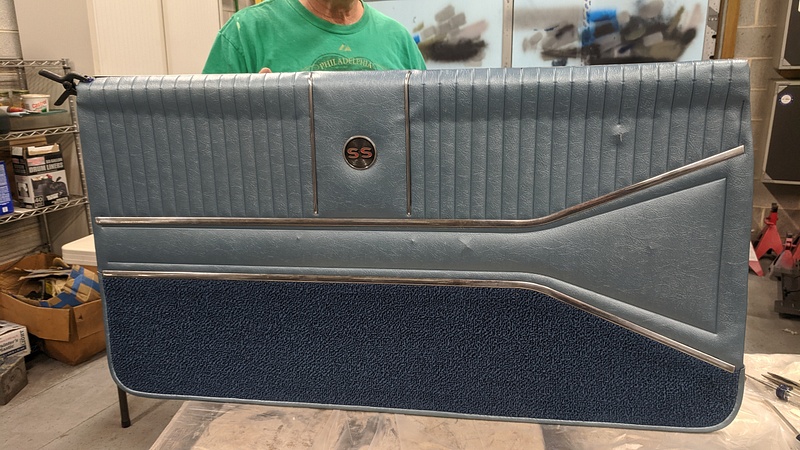
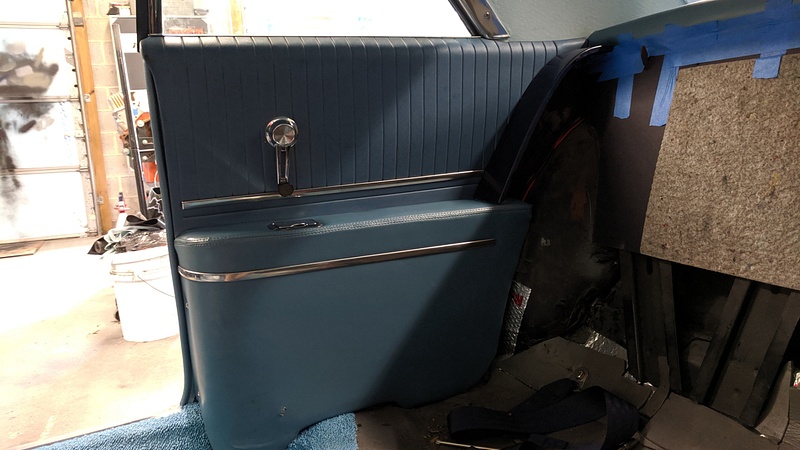
The driver side trim on the car, and holy shit, our holes lined up.
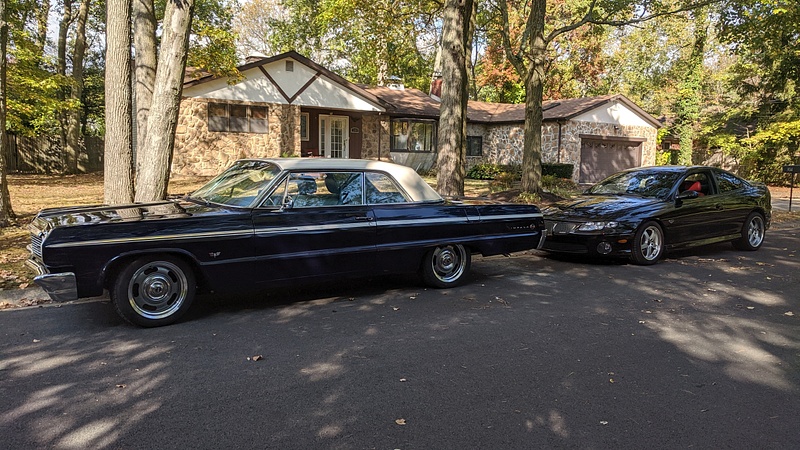
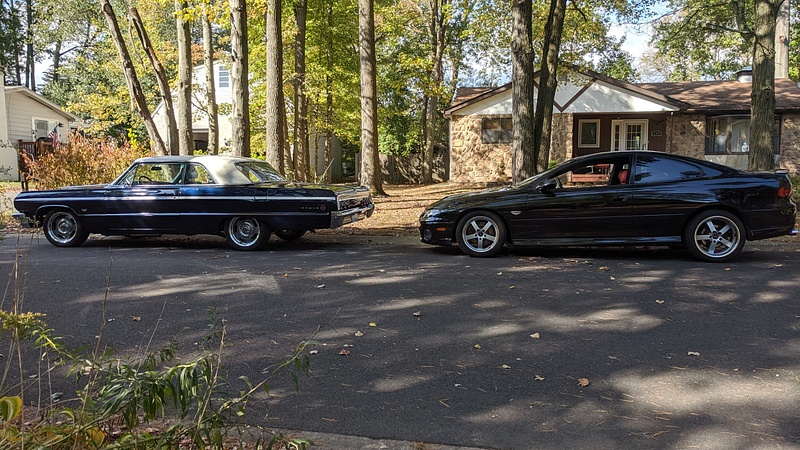
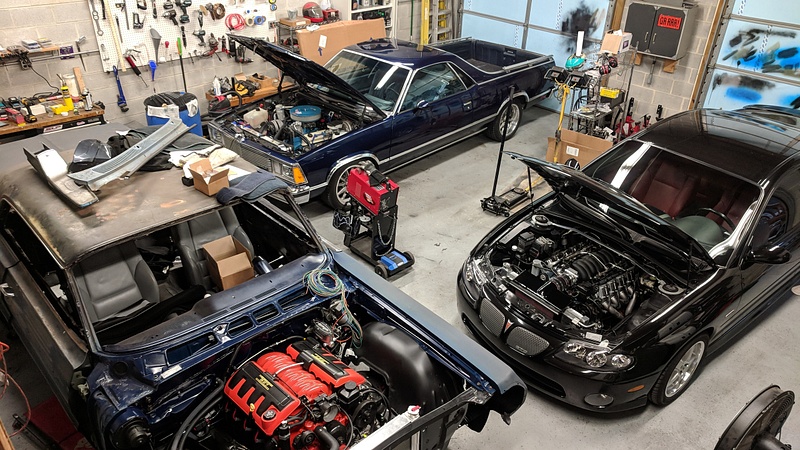
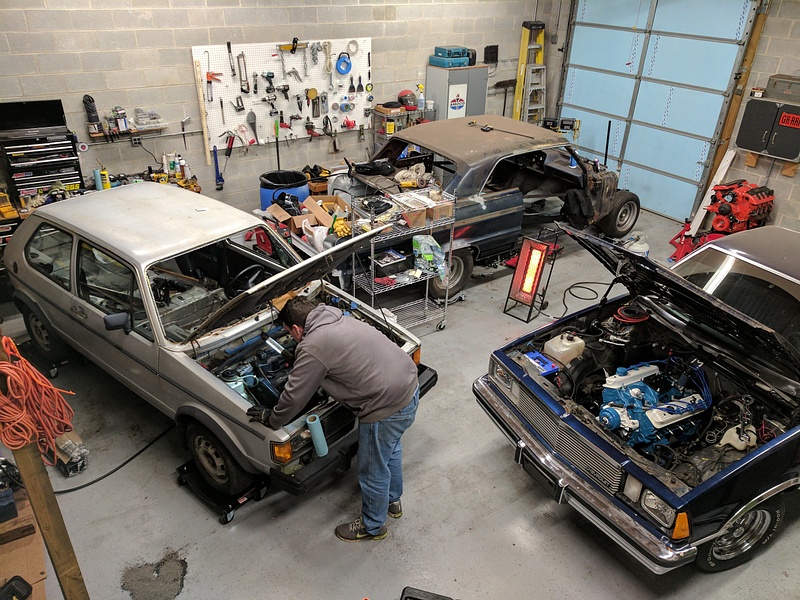
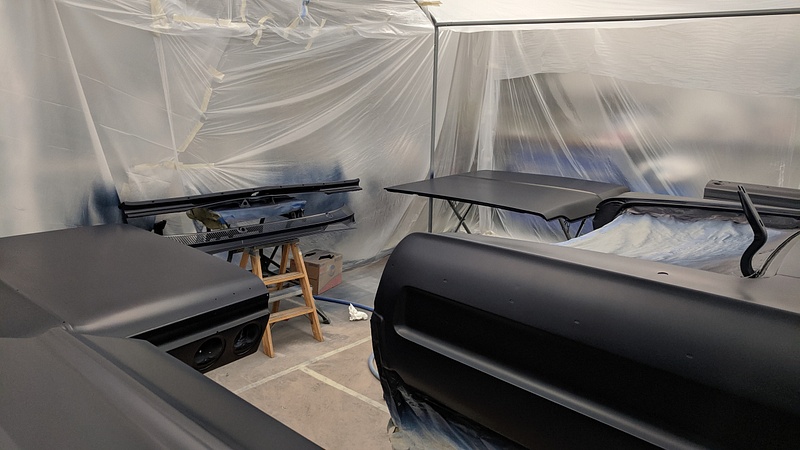
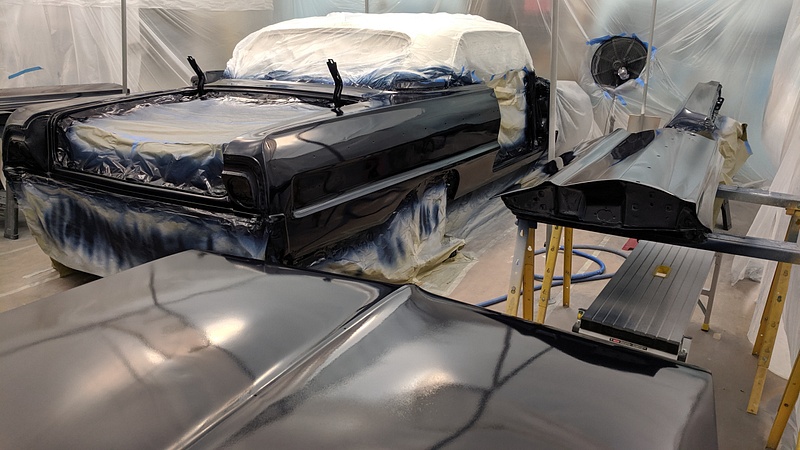
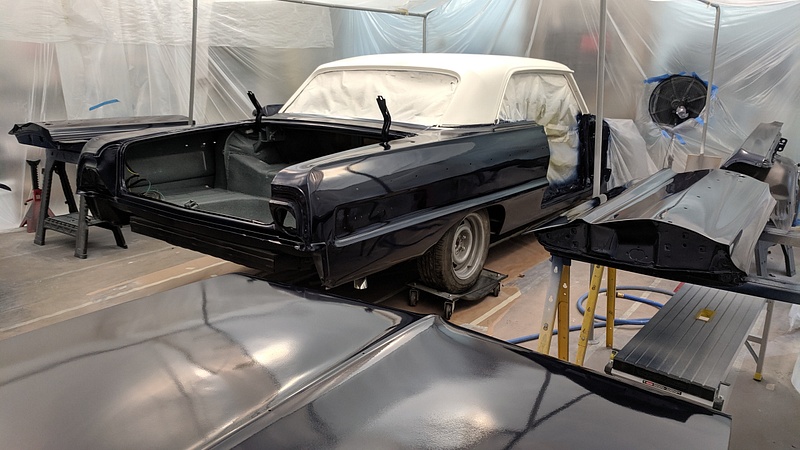
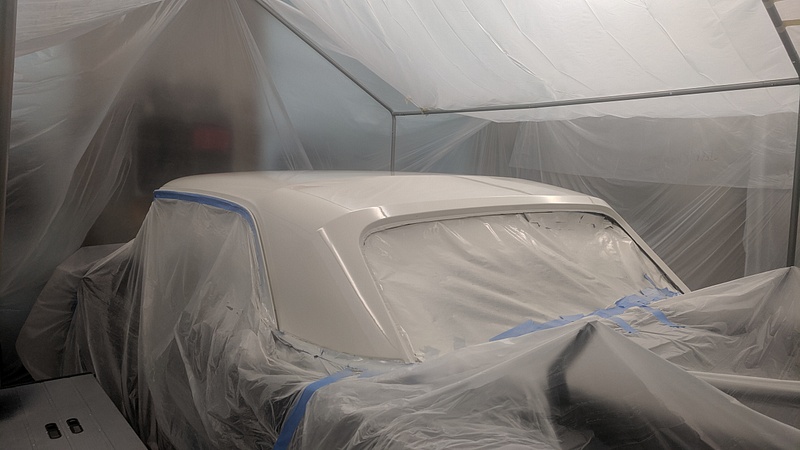
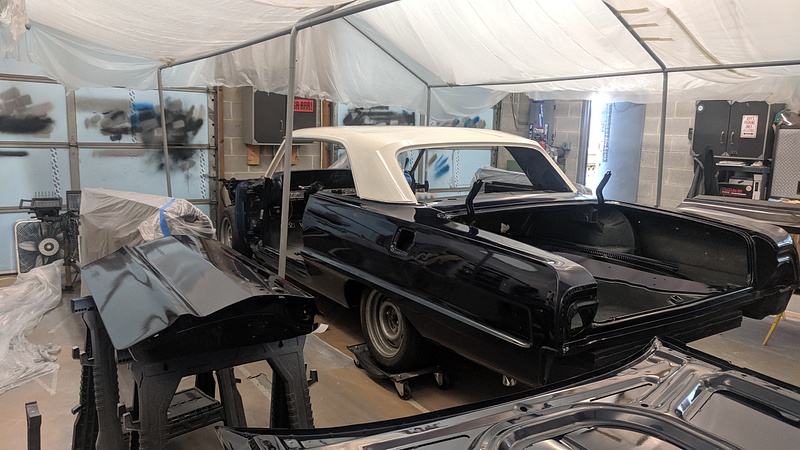
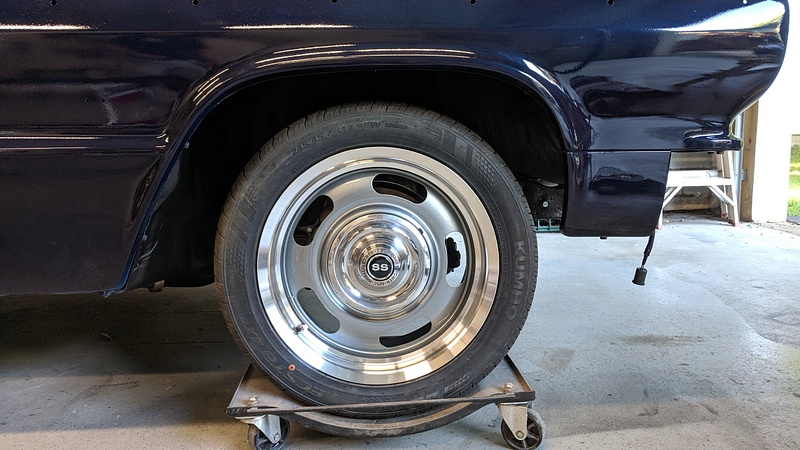
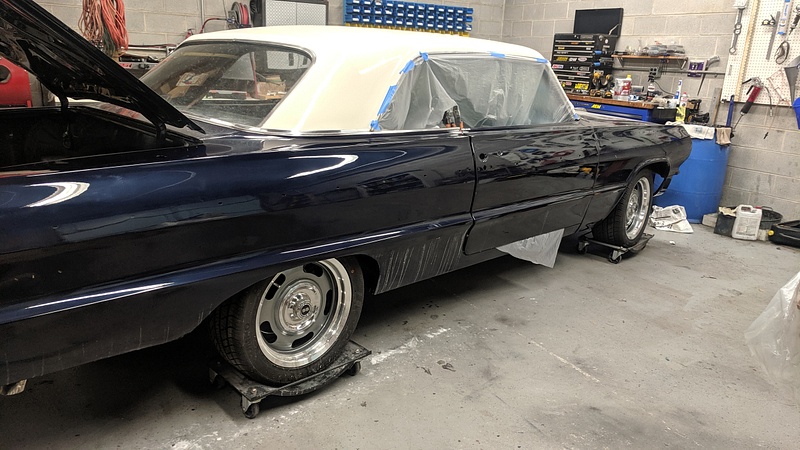
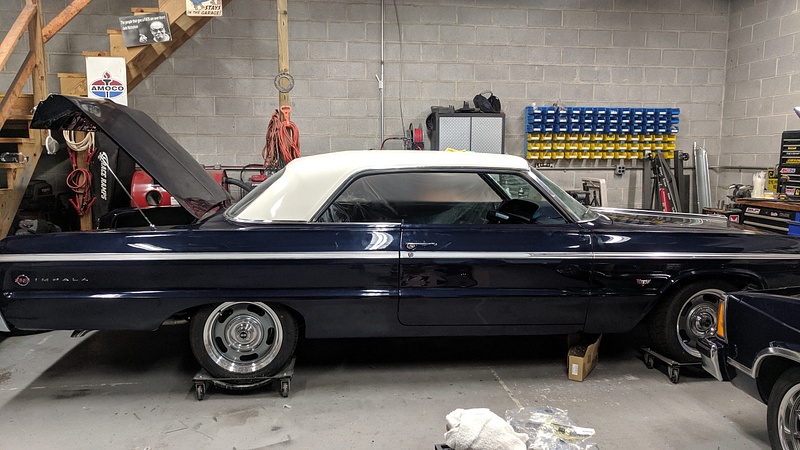
Basically, my GTO and El Camino lived outside for the duration of this crunch time. Once again, the huge garage somehow manages to not be big enough.
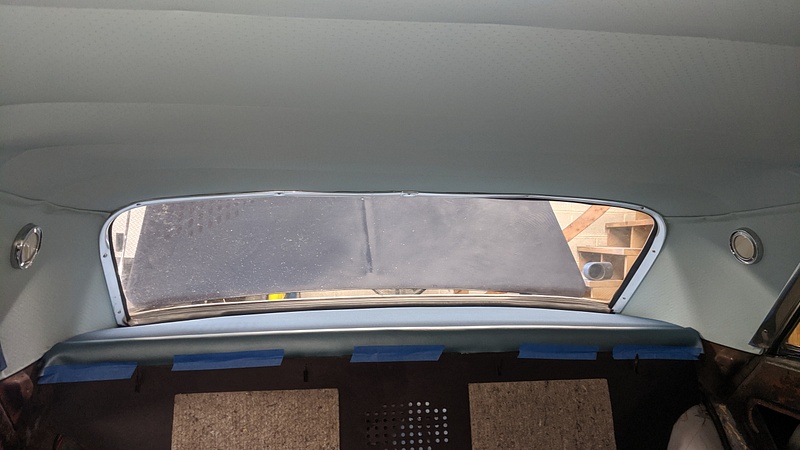
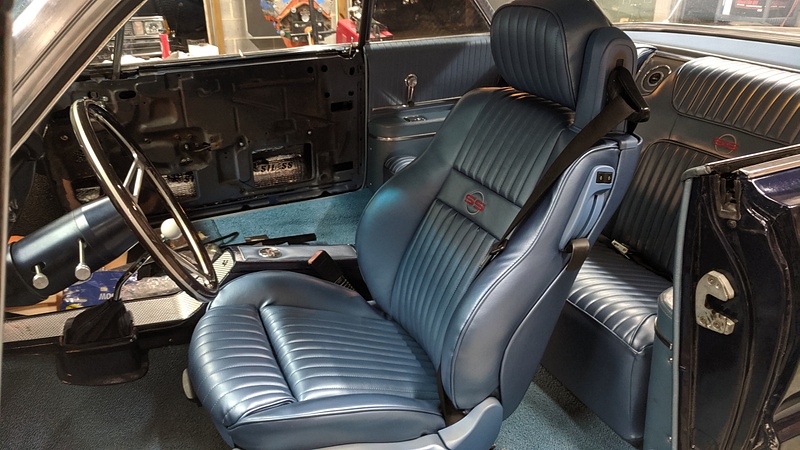
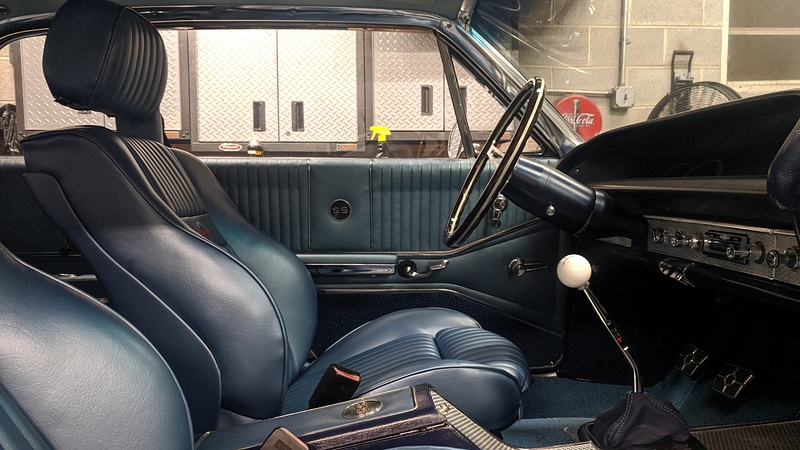
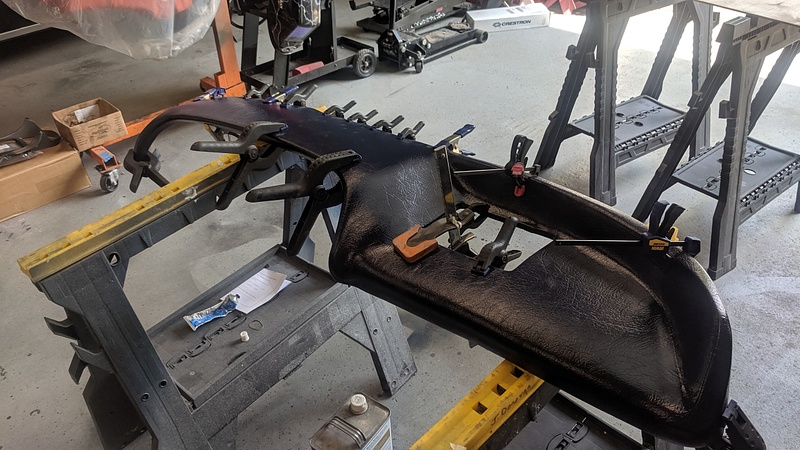
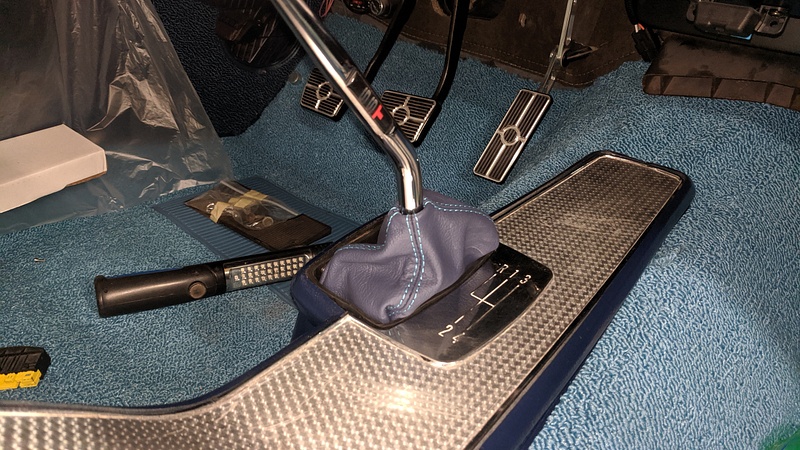
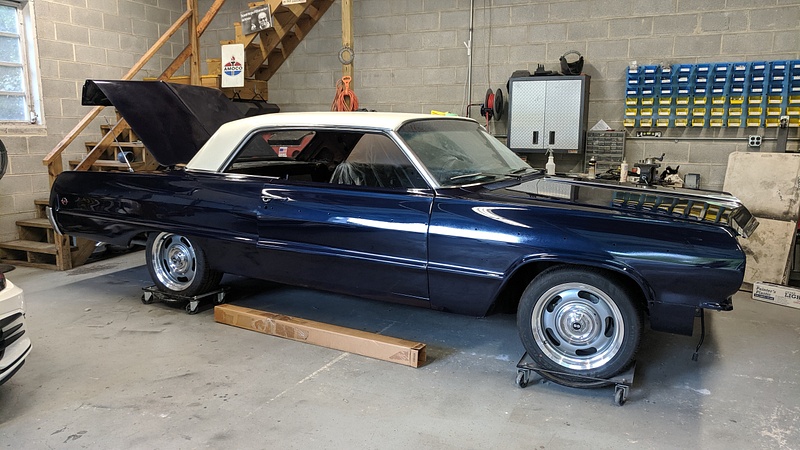
Once the rear interior panels were in, it was time to install the seats. And they turned out so nicely:
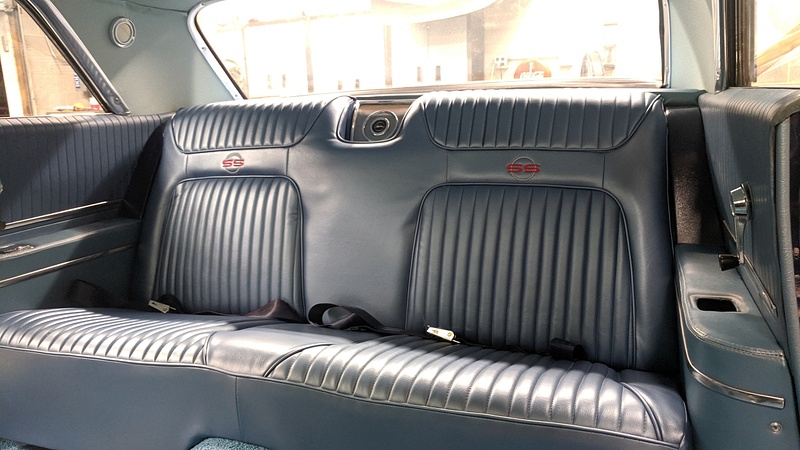
Once the rear seat was in, we put the driver seat in:
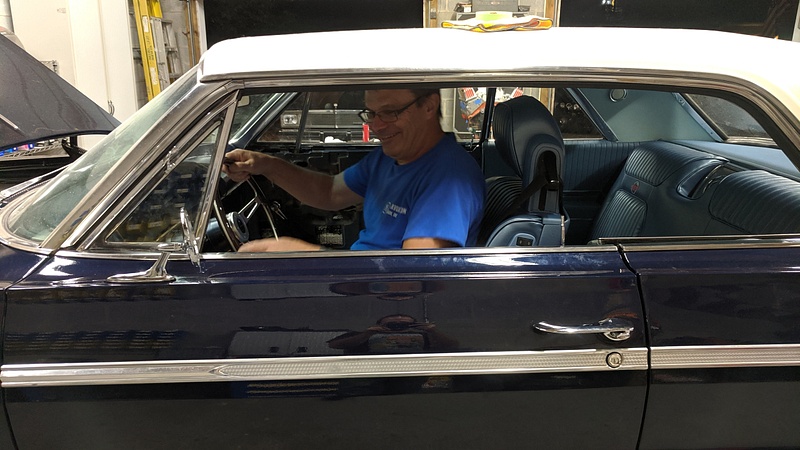
And, of course, my dad had to test out the seat...and the mirror....
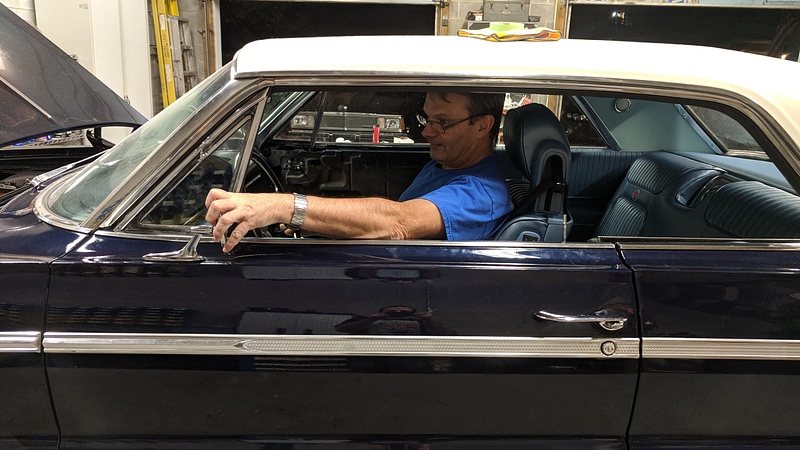
Giddy as a schoolboy:
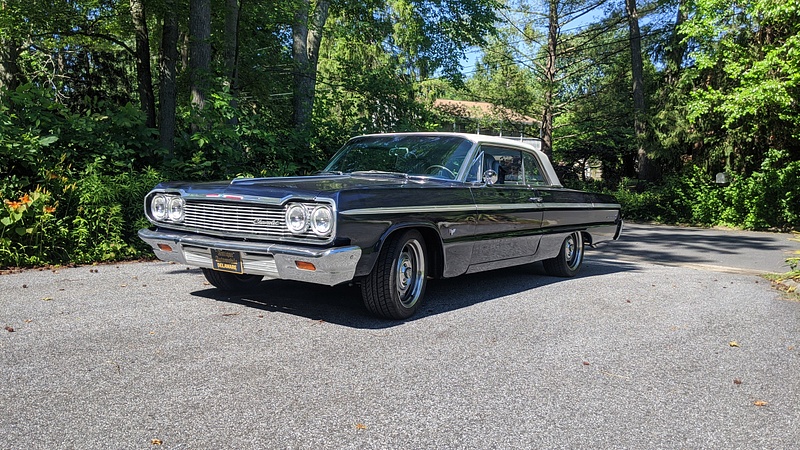
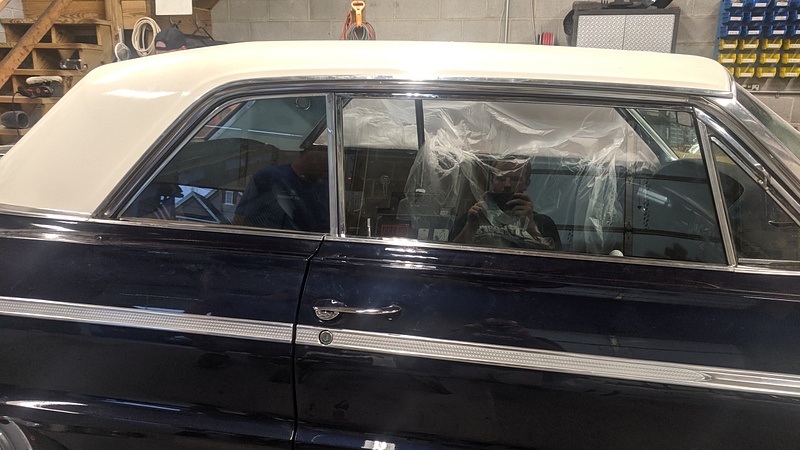
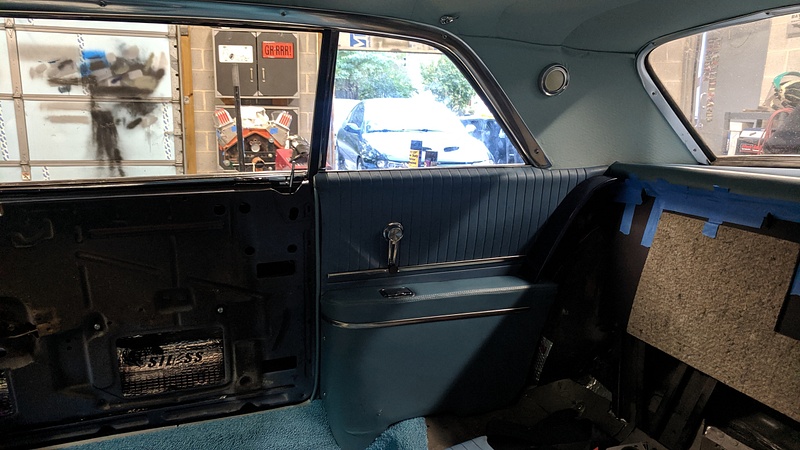
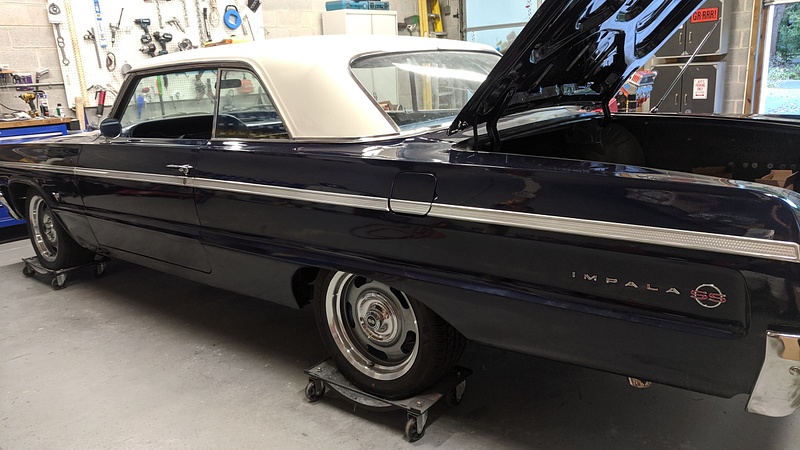
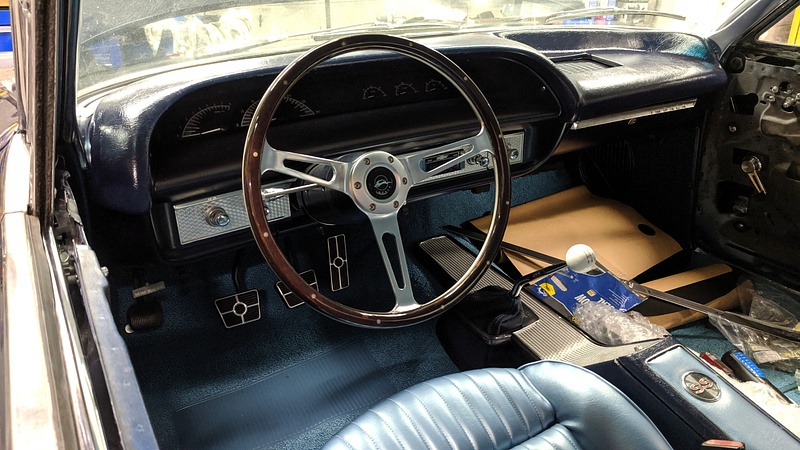
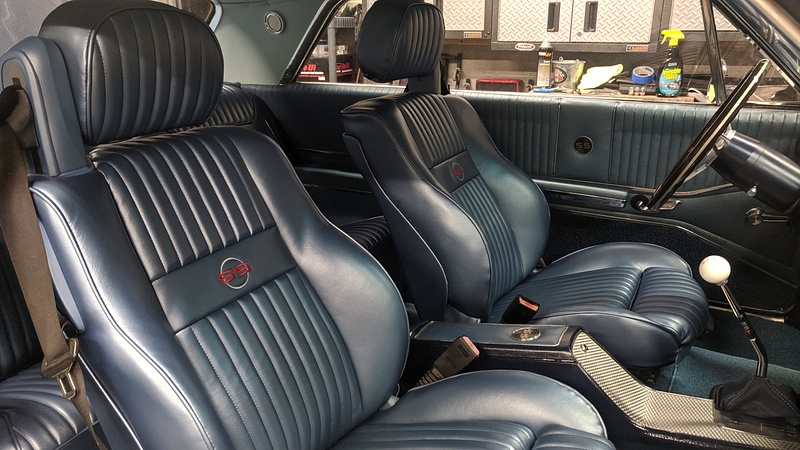
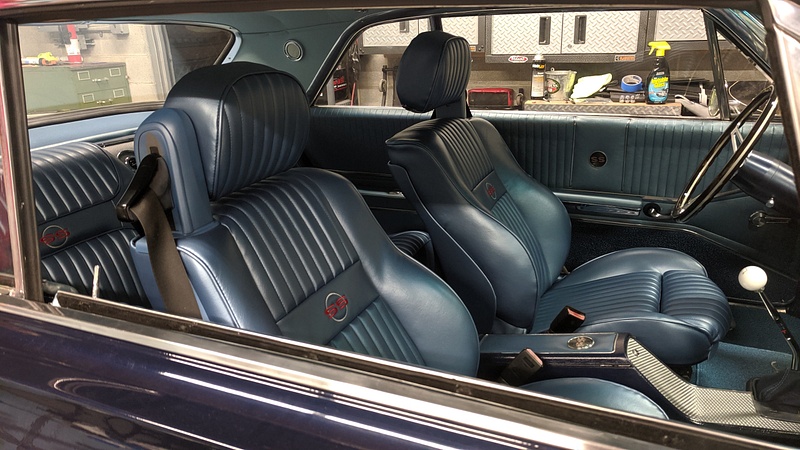
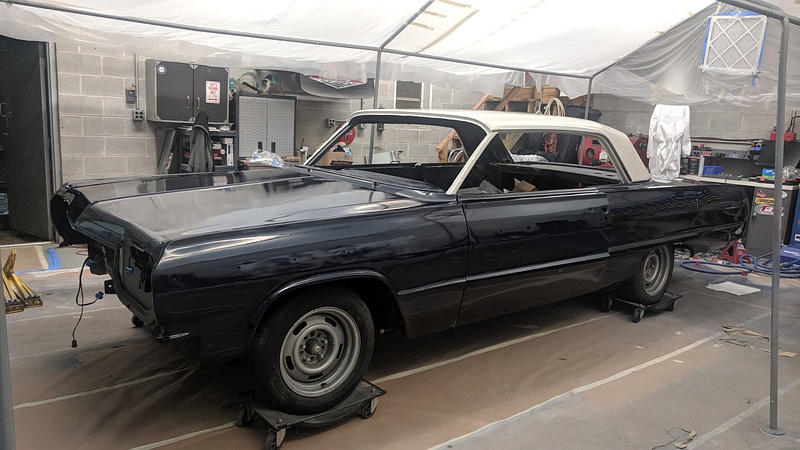
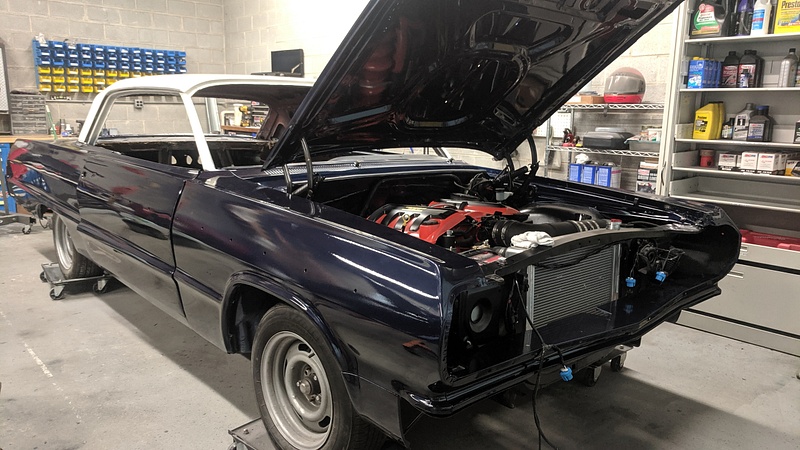
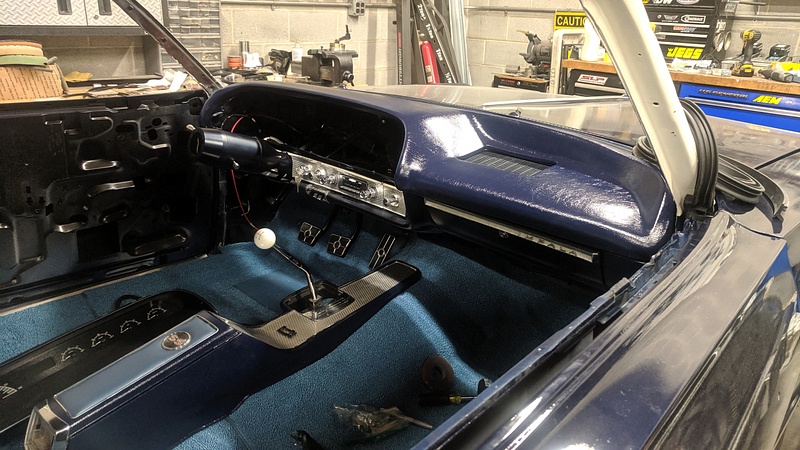
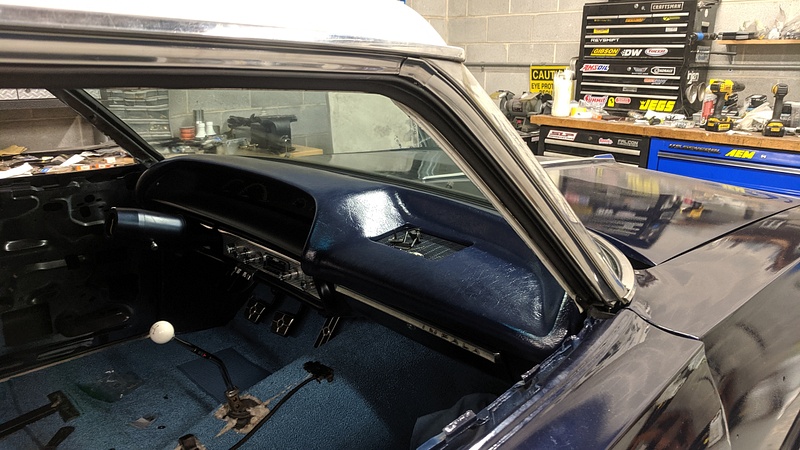
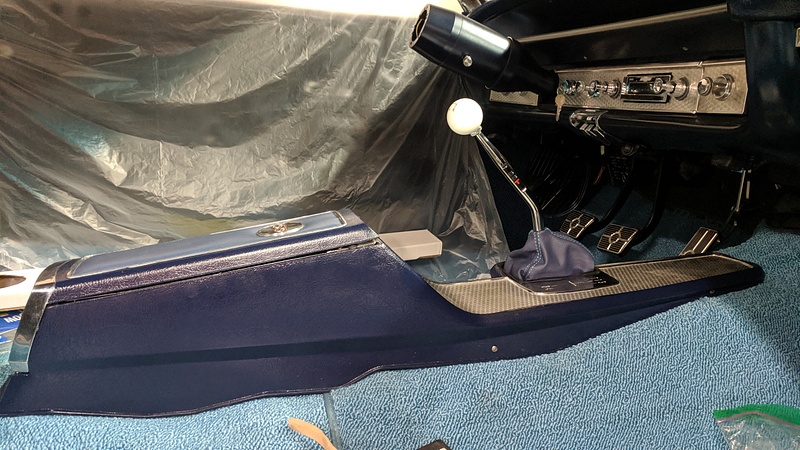
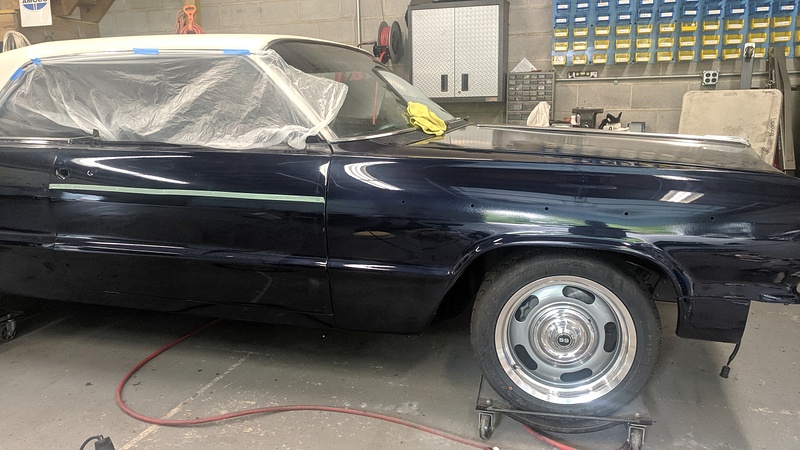
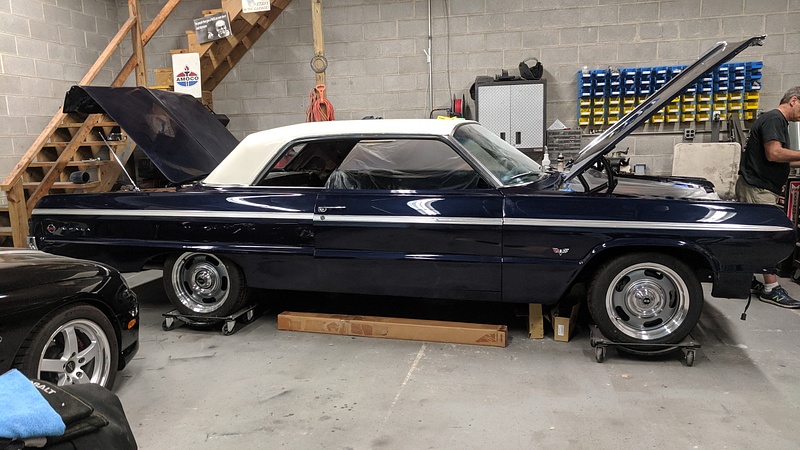
The completed interior:


 a few first gen immigrant on DFD, resident turk, and ex nazi egg lover now driving a middle class mom mobile.